25 Must-Try DIY Spring Decor Ideas: 25 Easter Home Decor Projects to Brighten Your Season
Introduction to 25 Must-Try DIY Spring Decor Ideas: 25 Easter Home Decor Projects to Brighten Your Season
As the last frost melts away and the first green shoots push through the earth, a powerful urge to refresh our surroundings takes hold. This seasonal shift isn’t just about nature; it’s an invitation to infuse our homes with the same vibrant energy and hopeful light of spring. What better way to celebrate this renewal than with your own two hands? Engaging in diy spring decor is more than a crafting session; it’s a joyful ritual that allows you to weave the essence of the season—rebirth, color, and light—directly into your living space. This collection of 25 projects is designed to guide you through transforming every corner of your home, from the front door to the dining table, with charming and achievable handmade touches.
Whether you’re welcoming the general spirit of spring or preparing for the specific joys of Easter, these ideas blend seamlessly. Imagine the soft glow of a hand-painted egg candle, the cheerful burst of a forsythia branch wreath, or the personalized charm of a bunny-themed garland. Each project serves as a creative outlet and a statement of intentional living. Consequently, by choosing to create rather than simply buy, you cultivate a home that tells a story of the season and reflects your personal style. Let’s embark on this creative journey to swap out winter’s heaviness for spring’s airy, bright, and blossoming aesthetic, one delightful DIY project at a time.
Why Choose DIY Spring Decor for Your Space
Embracing a hands-on approach to seasonal decorating offers a multitude of benefits that go far beyond mere aesthetics. Firstly, creating your own spring home accents provides an unparalleled sense of personal accomplishment and connection to your environment. Each handcrafted piece carries the memory of its making, transforming your decor from generic store-bought items into meaningful treasures. This emotional resonance makes your space feel uniquely yours, fostering a deeper sense of comfort and belonging.
From a practical standpoint, DIY projects are incredibly budget-friendly. Often, you can repurpose items you already own—like glass jars, scrap wood, or last year’s baskets—breathing spectacular new life into them with a bit of paint, ribbon, or fresh foliage. This sustainable approach not only saves money but also reduces waste, aligning your home refresh with eco-conscious values. Furthermore, the flexibility of DIY is unmatched. You can customize colors to perfectly match your existing palette, adjust sizes to fit quirky nooks, and control the style to be as rustic, modern, or whimsical as you desire. A store-bought wreath might be close to what you want, but a handmade one can be exactly what you envisioned.
Ultimately, the act of creating spring crafts is a mood-enhancing activity in itself. The process of working with your hands, focusing on a creative task, and witnessing a beautiful object come to life is a proven way to reduce stress and boost happiness. Therefore, the finished decor does more than brighten a shelf; it brightens your spirit, making your home a true sanctuary of seasonal joy and creative expression.
Key Elements & Design Components
To successfully capture the essence of spring in your handmade projects, it’s helpful to understand the core design components that define the season. By focusing on these elements, your DIY seasonal decorations will feel cohesive, fresh, and authentically spring-like.
Essential Decor Items for a Spring Refresh
The foundation of spring styling lies in a specific set of items, colors, and textures that signal renewal.
- The Color Palette: Move beyond basic pastels. While soft lavender, mint green, and buttery yellow are classics, also incorporate fresh greens (like sage and chartreuse), sky blues, and clean whites. Don’t shy away from pops of brighter hues like coral, daffodil yellow, or robin’s egg blue for energy.
- Natural Materials & Textures: This is the heart of spring crafting. Incorporate rattan, woven seagrass, untreated wood, terracotta, and linen. These materials bring an organic, tactile quality that feels light and airy.
- Floral & Botanical Motifs: This doesn’t always mean real flowers (though they are wonderful!). Use botanical prints in artwork, leaf-shaped ceramics, or fabric with subtle bud patterns. For Easter-specific projects, tasteful bunny, egg, and chick motifs add playful charm.
- Light & Airy Textiles: Swap out heavy wool throws and dark curtains. Layer in lightweight linen napkins, sheer curtain panels, cotton blend cushions in your spring palette, and delicate lace or crochet details.
- Key Project Bases: Have a stash of versatile bases ready for transformation: plain wreath forms, various sized glass jars and vases, wooden beads, plain terracotta pots, and untreated wood slices. These are the blank canvases for your creativity.
Style Variations & Budget-Friendly Alternatives
The beauty of handmade spring accents is their adaptability to any style or budget.
- For a Modern Minimalist Look: Focus on geometric shapes and monochromatic schemes. Paint eggs in a single, sophisticated color like slate blue or terracotta. Create a simple line-drawing bunny art print. Use a single, striking branch in a sleek vase instead of a full bouquet.
- For a Rustic or Farmhouse Vibe: Embrace imperfect textures. Use burlap ribbon, twine, and chippy-painted wood. Create a wreath with preserved boxwood and a burlap bow. Display speckled ceramic eggs in a worn wooden dough bowl.
- For Renters or Small Spaces: Think vertical and temporary. Create a hanging paper flower mobile for a ceiling corner. Use washi tape to create a seasonal pattern on a mirror frame or door. Opt for small, tabletop projects like decorated egg candles or a mini terrarium that won’t clutter surfaces.
- Budget-Friendly Swaps: Use grocery store herbs (like rosemary or thyme) in place of expensive eucalyptus. Paint plastic eggs instead of buying ceramic ones. Upcycle cardboard boxes into pretty storage bins with wrapping paper and mod podge. Forage for attractive branches and blossoms (where permitted) instead of buying floral stems.
How to Achieve the Look: Step-by-Step Styling Guide
Ready to dive in? This step-by-step guide will walk you through the process of integrating your DIY spring decor projects into a cohesive and beautiful home refresh.
Step 1: Declutter and Create a Clean Canvas
Begin by gently packing away the heaviest winter decor—dark throws, plaid pillows, and dense centerpieces. Give surfaces a thorough cleaning. This act of clearing space is both physical and mental, making room for new energy and providing a blank slate for your spring crafts.
Step 2: Define Your Color Story
Select 3-4 colors from the spring palette that resonate with you and work with your existing furniture. Let this guide your material choices. For instance, if you choose sage, white, and wicker, you might make a woven basket liner, paint some clay pots sage green, and stitch some simple white linen pillow covers.
Step 3: Start with a Focal Point
Choose one area to make a significant impact first, such as your entryway or dining table. Create a statement piece for this space. For example, craft a large spring wreath for your front door using faux greenery and hand-painted wooden eggs, or design a layered runner and centerpiece for your table.
Step 4: Layer in Handmade Accents Room by Room
Don’t try to do everything at once. Move from room to room adding 2-3 handmade items each.
* Living Room: Add throw pillows with embroidered spring motifs, create a set of coasters with pressed flowers, and arrange a vase of hand-wrapped silk forsythia branches.
* Kitchen: Line your fruit bowl with a handmade linen liner, hang a tiny herb garden in painted pots, and display a set of eggshell candles on the windowsill.
* Bathroom: Swap out towels for lighter colors and add a small tray holding pastel soaps and a tiny succulent in a decorated pot.
Step 5: Incorporate Natural Elements
This step is crucial for authenticity. Intersperse your DIY projects with real elements. Place your handmade ceramic birds next to a vase of fresh tulips. Set your painted egg collection on a bed of moss or real wheatgrass. The mix of crafted and natural creates depth and interest.
Step 6: Craft for Easter (If Celebrating)
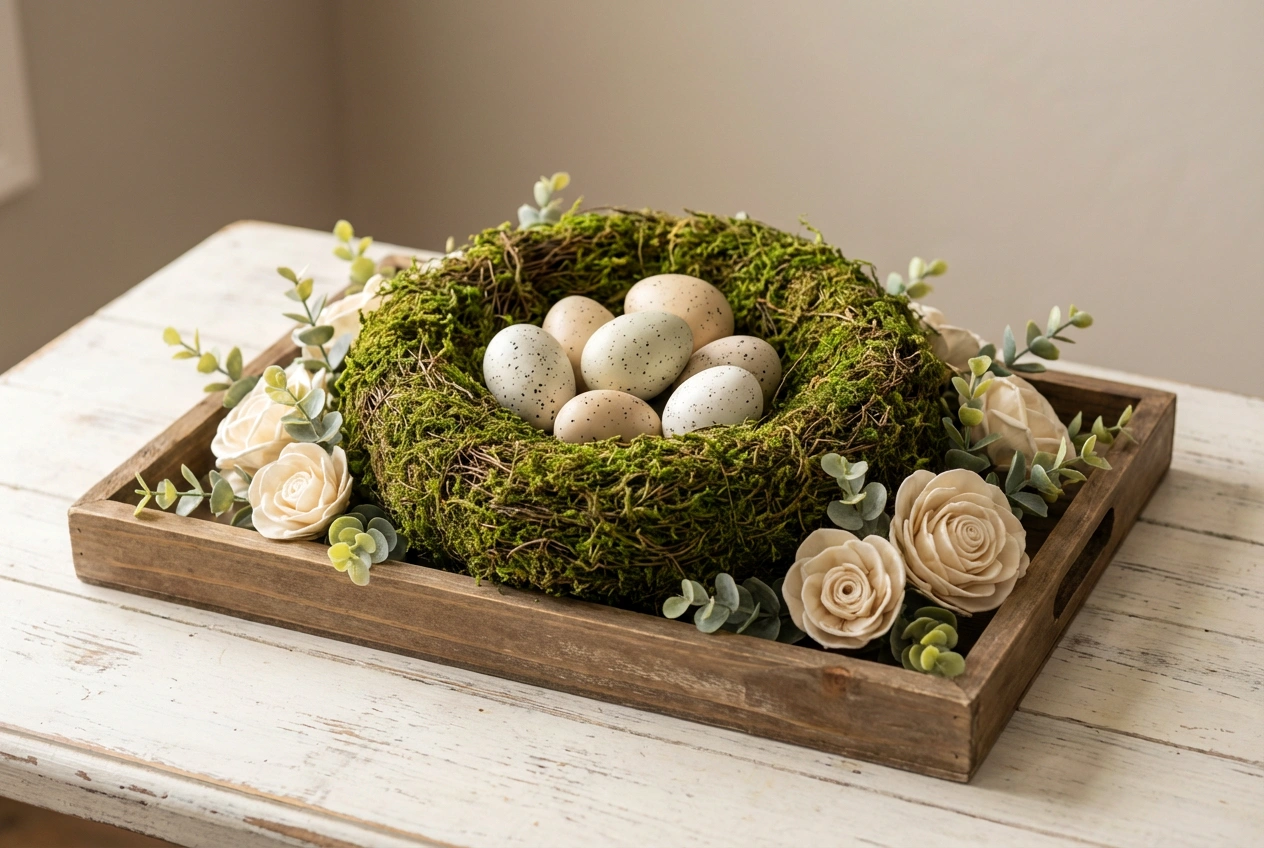
Integrate Easter-specific projects subtly. Drape a handmade bunny garland across the mantel. Create a centerpiece with nests, decorated eggs, and taper candles. Set the table with personalized, hand-stamped napkins for guests. Ensure these pieces complement your broader spring theme.
Step 7: Adjust Lighting
Finally, maximize natural light by cleaning windows and pulling back curtains. In the evening, use string lights, candlelight (real or LED), and lamps with warm-white bulbs to create a soft, welcoming glow that highlights your new spring crafting projects.
Elevating the Look: Advanced Styling Tips
Once your core spring DIY projects are in place, these advanced tips will add polish and sophistication to your seasonal setup.
Create Intriguing Vignettes: Instead of spacing items evenly on a shelf, group them in odd numbers. Combine items of varying heights, textures, and origins. For example, place a tall, hand-painted vase next to a stack of vintage books topped with a small, crafted bird figurine and a sprig of greenery. This creates little moments of visual interest throughout your home.
Play with Scale for Impact: Incorporate one or two unexpectedly large or small elements. A single, oversized paper blossom in a floor vase can be a stunning modern statement. Conversely, a collection of dozens of tiny, painted eggs in a clear jar becomes a captivating textural element.
Incorporate Subtle Scent: Engage all the senses. Introduce the scent of spring with DIY potpourri (dried citrus, rosemary, and lavender), naturally scented beeswax candles, or essential oil diffusers with blends like “rain” or “fresh linen.” The olfactory connection powerfully enhances the seasonal atmosphere.
Edit Ruthlessly: The most common mistake in seasonal decorating is overdoing it. After you’ve placed everything, take a step back and remove one or two items. Aim for a feeling of refreshed lightness, not clutter. Your most beautiful handmade piece will shine brighter when it has some space to breathe.
Maintenance & Care: Keeping Your Space Fresh
To ensure your handmade spring accents last through the season and can be enjoyed year after year, a little care goes a long way.
Dust Gently: Use a soft brush or a microfiber cloth to regularly dust your crafted items, especially those with intricate details or made from natural materials like woven grass or untreated wood. This prevents buildup and keeps colors looking bright.
Protect from Direct Sunlight: If your projects used paint or dyed materials, avoid placing them in direct, prolonged sunlight to prevent fading. Rotate items occasionally if they are on a sunny windowsill.
Store with Care: When the season ends, pack your DIY decor thoughtfully. Wrap fragile painted items in tissue paper. Store wreaths in dedicated boxes to maintain their shape. Place natural materials like dried flowers or moss in airtight containers to prevent pest damage. Labeling boxes clearly will make next year’s refresh a joyous rediscovery rather than a chore.
Refresh with Ease: If a piece looks tired, don’t hesitate to give it a mini-makeover. A faded ribbon can be replaced, a chipped pot can be repainted, and dried greenery can be swapped for a new sprig. The beauty of DIY is that everything is refreshable.
FAQs: Frequently Asked Questions About DIY Spring Decor
Q: I’m not crafty at all. Are these DIY spring decor ideas suitable for beginners?
A: Absolutely! Many projects require no special skills—just a willingness to try. Start with simple ideas like filling a clear vase with layered pastel beads or jelly beans, wrapping vases with pretty ribbon, or painting simple patterns on smooth stones. The key is to choose projects that feel fun, not intimidating.
Q: How can I incorporate Easter themes without making my home look childish?
A: Focus on sophisticated materials and neutral color palettes. Instead of bright plastic, use natural speckled eggs, ceramic bunnies in matte glaze, and linen fabrics. Incorporate symbols subtly—a brass egg finial on a lamp, a single abstract bunny silhouette art print, or a nest used as a jewelry holder.
Q: I live in a small apartment. How do I do spring DIY without creating clutter?
A: Think vertical and dual-purpose. Create a hanging macramé plant holder for a spring ivy. Make a seasonal piece of art to swap into your existing frame. Craft a scented pinecone bundle that also acts as a natural air freshener. The goal is to add feeling, not stuff.
Q: What are the most affordable materials to use for spring crafting?
A: Some of the best materials are low-cost: paper (for garlands, flowers), cardboard (for shapes and structures), items from nature (twigs, pinecones, smooth stones), fabric scraps, and thrift store finds like plain vases or baskets that you can personalize with paint.
Q: How early should I start putting up my DIY spring and Easter decor?
A: This is personal preference, but a good rule is to begin the transition after the winter holidays feel distant, often around early March. You can start with general spring themes (greenery, fresh colors) and then layer in the Easter-specific items a week or two before the holiday.