Hello Spring Tulip Door Hanger: Beautiful Spring Door Hangers for a Bright Welcome
Introduction to Hello Spring Tulip Door Hanger: Beautiful Spring Door Hangers for a Bright Welcome
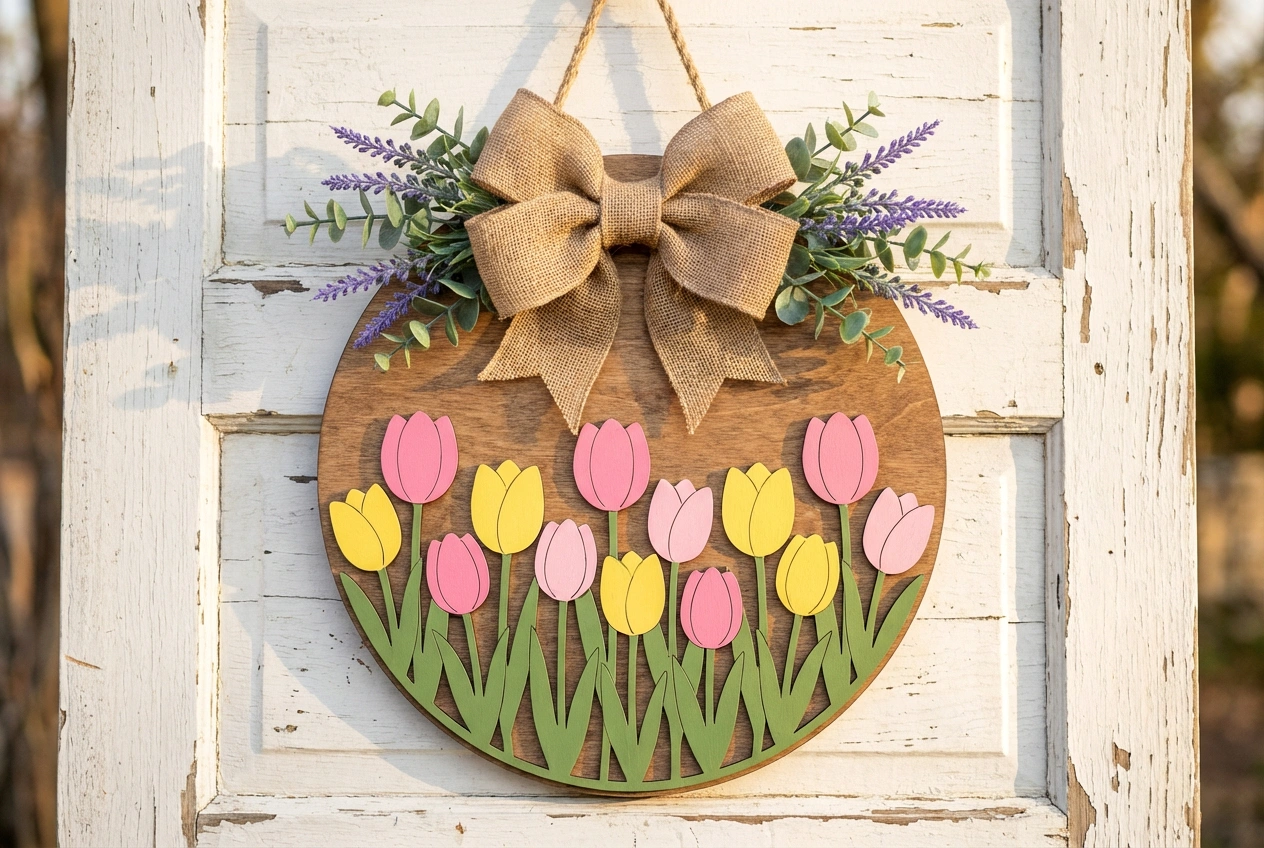
As the last frost melts away and the first green shoots push through the earth, a profound sense of renewal washes over us. We instinctively seek to bring that vibrant, hopeful energy into our homes. What better place to start than at the very threshold? Spring door hangers are more than just decorations; they are the first cheerful greeting to visitors and a daily welcome home to you. They set the tone, announcing that within these walls, life is blooming. This season, let’s move beyond the generic and embrace a creation that captures the heart of spring: the Hello Spring Tulip Door Hanger. This charming, handmade wreath alternative embodies a rustic yet refined aesthetic, blending natural textures with joyful florals. It’s a transformative choice because it personalizes your entryway with warmth and craft, instantly lifting the spirits of all who approach. Unlike store-bought items, a DIY spring door decoration tells a story of creativity and care, making your home’s first impression uniquely inviting. Whether your style leans toward farmhouse charm, cottagecore whimsy, or modern minimalism with a natural twist, this project adapts beautifully. Ultimately, it’s about crafting an atmosphere of optimism and warmth, turning a simple act of decor into a celebration of the season’s fresh start right at your door.
Why Choose Hello Spring Tulip Door Hanger: Beautiful Spring Door Hangers for a Bright Welcome for Your Space
Choosing to adorn your door with a handmade tulip-themed hanger is a decision that pays dividends in aesthetics, emotion, and functionality. First and foremost, it creates unparalleled visual harmony. The organic shapes of faux tulips and greenery paired with a woven rattan or grapevine base bring a slice of the burgeoning garden to your entry, creating a seamless transition from the outdoors in. This natural element softens modern facades and enhances traditional homes, providing a focal point that is both elegant and approachable.
Furthermore, this style stands out for its powerful emotional impact. The vibrant hues of spring—soft pinks, sunny yellows, creamy whites, and lush greens—are scientifically shown to boost mood and evoke feelings of happiness and calm. A colorful door adornment acts as a daily dose of joy, a visual reminder of growth and new beginnings every time you arrive home. For guests, it’s an immediate signal of a warm, welcoming household.
From a practical standpoint, a seasonal door hanger is a supremely functional decor choice. It defines your home’s address with personality, helps celebrate the cyclical nature of the year, and can be a more manageable project than a full wreath. It’s also versatile; these beautiful door decorations can be easily moved to adorn a garden gate, a wall inside your mudroom, or even as a centerpiece above a mantel. For renters or those with limited outdoor space, it’s a non-permanent, impactful way to claim and beautify your entrance without any structural changes. In essence, opting for a custom spring welcome piece is an investment in curb appeal, personal well-being, and creative expression.
Key Elements & Design Components
Essential Decor Items for Hello Spring Tulip Door Hanger: Beautiful Spring Door Hangers for a Bright Welcome
To craft your perfect spring entrance decor, you’ll need a curated selection of materials that balance structure, color, and texture. Here’s a detailed list of essentials:
- The Base: This is the foundation of your hanger. A natural grapevine wreath (12-14 inches) offers a rustic, organic look with plenty of nooks to secure stems. For a cleaner, more modern base, consider a rattan wreath or a simple wooden hoop. Budget-Friendly: A cardboard or foam wreath form wrapped in burlap or moss.
- Floral Stars: Faux Tulips. Select a mix of 5-7 high-quality faux tulip stems in your chosen color palette. Look for varieties with realistic silk petals and flexible green stems. A mix of bloom sizes (some open, some slightly closed) adds depth.
- Supporting Greenery: Sprigs of faux eucalyptus, boxwood, ferns, or ivy are crucial for filling space and creating a lush, garden-like feel. They provide the “green canvas” that makes the tulip colors pop.
- The Welcome Message: A small, rustic chalkboard, a wooden cutout, or a painted slate tag with the phrase “Hello Spring,” “Welcome,” or a simple floral design. This personalizes your seasonal door decor.
- Textural Accents: Consider adding elements like a burlap or gingham ribbon bow, dried pampas grass fronds for a boho touch, or small faux bird eggs in a nest for a whimsical detail.
- Mechanics: A sturdy, wide ribbon or a pre-made wreath hanger for the door. A hot glue gun with plenty of glue sticks is essential for securing heavier elements. Floral wire and wire cutters will help attach items securely to the base.
The purpose of each item is to build layers. The base provides structure, the greenery creates fullness, the tulips deliver the focal color and theme, and the accents add personality and charm.
Style Variations & Budget-Friendly Alternatives
The beautiful aspect of DIY door decor is its adaptability. Here’s how to tailor the look:
- Modern Minimalist: Use a single-color tulip (all white or blush) on a simple rattan hoop. Keep greenery sparse and structured (like lemon leaf sprigs). Opt for a sleek, untreated wood tag with a burned-in message.
- Cottagecore Whimsy: Mix tulip colors wildly—pinks, purples, oranges. Add in other small faux flowers like daisies or forget-me-nots. Use a wide, floral-printed ribbon and incorporate a tiny ceramic bunny or butterfly.
- Farmhouse Rustic: Stick with a classic grapevine base. Use cream and yellow tulips. Add wheat stalks, a burlap ribbon, and a tag made from a slice of wood with stenciled lettering.
Budget-Conscious Swaps:
* Florals: Shop sales at craft stores after a season ends. You can also use dried flowers from your garden or even paint inexpensive plastic flowers for a custom look.
* Base: Instead of a wreath, use an embroidery hoop or create a shape from foraged branches secured with twine.
* Greenery: Forage for interesting leafy branches (ensure they are safe and legal to take) and use a glycerin solution to preserve them.
* Message: Paint a smooth stone or cut a tag from cardboard covered with scrapbook paper.
How to Achieve the Look: Step-by-Step Styling Guide
Creating your Hello Spring Tulip Door Hanger is a joyful, straightforward process. Follow these steps to ensure a professional-looking and durable result.
Step 1: Gather and Prepare Your Materials
Lay out all your components on a clean workspace. Using your wire cutters, separate your faux tulip blooms from their long stems, leaving about 3-4 inches of stem attached. Do the same with your greenery sprigs. This makes them easier to insert and glue. Pre-tie your bow if using one, and have your welcome sign ready.
Step 2: Create the Greenery Foundation
Begin by tucking and wiring or gluing your larger greenery pieces around the wreath base. Aim for even distribution to create a full, balanced backdrop. Don’t worry about perfection; a slightly asymmetrical, organic look is most natural. This layer will hide much of the base and provide anchor points for your flowers.
Step 3: Establish Your Floral Focal Points
Identify the “front” of your wreath. Place your largest or most colorful tulip bloom at a focal point, typically slightly off-center. Secure it firmly with hot glue directly onto the base and greenery. Then, place the remaining tulips around it, clustering some together and spacing others slightly apart for rhythm. Angle some blooms to face outward and others slightly downward for dynamic interest.
Step 4: Add Texture and Personal Accents
Now, fill in any sparse areas with smaller sprigs of greenery or textural elements like pampas grass. Attach your “Hello Spring” sign using wire or glue, placing it near your main floral cluster. Finally, attach your ribbon bow, ensuring it’s secure. If your ribbon is also your hanger, create a loop at the top before styling.
Step 5: Final Assembly and Hanging
Turn your wreath over and ensure all wire ends are tucked in and no glue strings remain. Attach your chosen hanging mechanism—a pre-made metal wreath hanger over the door is the easiest and safest for the door’s finish. For a ribbon hanger, ensure the knot or loop is strong. Gently fluff and adjust all the elements, turning the wreath to view it from all angles until you’re happy with the fullness.
Step 6: Adapt for Different Spaces
For an interior wall, you may want a fuller, all-around design since it will be viewed from all sides. For a narrow door or apartment entry, consider a thinner, vertical-oriented swag instead of a round wreath to save space. The same components can be arranged on a wooden dowel or a beautiful branch.
Elevating the Look: Advanced Styling Tips
Once your basic door decoration is complete, these advanced tips will polish the presentation and integrate it seamlessly into your home’s broader aesthetic.
- Lighting is Everything: Consider a solar-powered, fairy-light wreath wrap. Weaving a string of tiny, warm-white LED lights through the greenery and tulips will make your spring door hanger glow enchantingly at dusk, extending its welcome into the evening.
- Create a Coordinated Entryway Vignette: Don’t let the beauty stop at the door. Place a small pot of real tulips or hyacinths on a nearby console table. Use a doormat in a complementary color or pattern. This layers the theme and creates a cohesive, immersive experience from the moment one steps onto your porch.
- Artful Placement: Think beyond the front door. A smaller version of your floral door piece makes a stunning focal point above a kitchen window, on a bedroom door, or as a centerpiece laid flat on a table with a candle in the center.
- Seasonal Updates: The beauty of a handmade piece is its adaptability. When summer arrives, you can carefully remove the tulips and sign and replace them with sunflowers, daisies, and a “Hello Sunshine” tag, using the same base and greenery. This makes your initial effort a gift that keeps giving throughout the year.
- Professional Finish: Spray your finished piece, especially if using a porous base like grapevine, with a UV-protectant clear sealant (outdoors and in a well-ventilated area). This will help prevent color fading from the sun and protect it from light rain or morning dew, ensuring your beautiful spring door hangers last for seasons to come.
Maintenance & Care: Keeping Your Space Fresh
To ensure your welcoming door adornment stays vibrant from season to season, a little maintenance goes a long way.
- Dusting: Faux florals are dust magnets. Every few weeks, use a hairdryer on a cool, low setting to gently blow dust off the arrangement. For more stubborn dust, a soft-bristled paintbrush or makeup brush can carefully dust each flower and leaf.
- Weather Considerations: While many faux materials are weather-resistant, prolonged direct sun will fade colors, and heavy rain can damage glue points. If you live in a very harsh climate, consider placing your seasonal door decor on a covered porch or an interior door. Alternatively, use it as a beautiful piece of wall art indoors.
- Refreshing the Look: If a flower stem becomes loose, re-secure it immediately with hot glue. Over time, you can refresh the look by swapping out the ribbon or adding a few new sprigs of greenery. After storing it for the off-season, fluff the pieces back into shape before re-hanging.
- Storage: When storing, place the wreath in a sturdy, plastic bin with a secure lid—never in a flimsy garbage bag, which can crush the shapes. Store it in a cool, dry place to prevent any moisture damage or color transfer.
FAQs: Frequently Asked Questions About Hello Spring Tulip Door Hanger: Beautiful Spring Door Hangers for a Bright Welcome
Q1: I’m not crafty at all. Is this DIY project too difficult for a beginner?
A: Not at all! Creating a spring door hanger is one of the most beginner-friendly DIY projects. The process is forgiving, and there’s no single “right” way. Start with a simple design (3 tulips, some greenery, and a bow) and a good hot glue gun. The joy is in the creating, and even imperfect arrangements have immense charm.
Q2: How can I make my door decoration look expensive and high-end?
A: The key is in the quality of materials and thoughtful composition. Invest in the most realistic faux tulips you can afford—they make all the difference. Use a variety of greenery for depth, and don’t overcrowd the base. Leave some of the natural wreath material visible for texture. Finally, a beautiful, wide ribbon in a luxe fabric like velvet or a high-quality jute can elevate the entire piece.
Q3: My front door gets a lot of wind. How do I secure my wreath so it doesn’t blow away?
A: Security is crucial! Avoid flimsy over-the-door hangers. Instead, use a wreath hanger with a sturdy, grippy hook that goes over the top of the door. You can also reinforce it by using a clear wreath command strip on the back of the wreath to stick it lightly to the door. For extreme wind, consider using a thin, transparent fishing line to tie the wreath to your door knocker or handle discreetly.
Q4: Can I use real flowers for my spring door decor?
A: You can, but be aware that real flowers will wilt quickly outdoors, especially in sun or wind. For a short-term event, it’s a beautiful option. For a longer-lasting seasonal piece, high-quality faux florals or dried flowers are a more practical and sustainable choice, allowing you to enjoy your beautiful door decorations for months.
Q5: How do I choose a color scheme that complements my front door color?
A: Use color theory as a guide. For a bold door (navy, black, red), soft pastel tulips (cream, light pink, lavender) create a stunning, elegant contrast. For a neutral door (white, gray, beige), you have free reign—both pastels and brights (coral, yellow) will pop beautifully. For a wood-toned door, consider warm colors like yellows, oranges, and creams, which complement the natural wood grain.