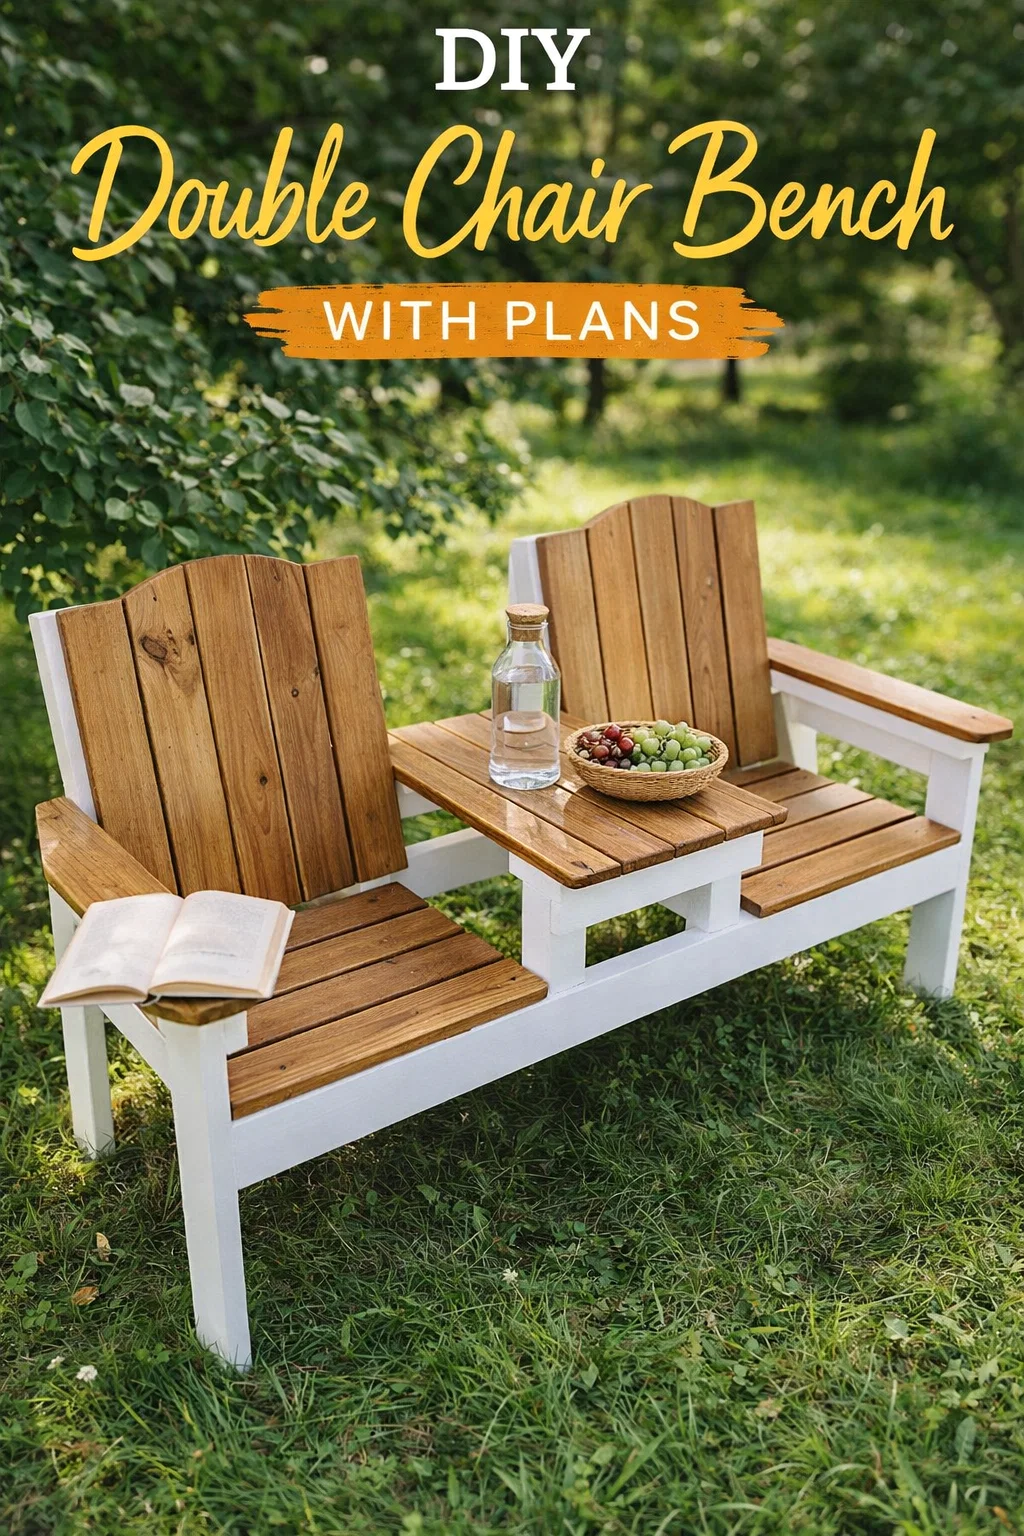
Creating your own outdoor furniture is one of the most rewarding DIY projects you can undertake. There is a unique sense of pride that comes from sitting on a piece of furniture that you built with your own two hands, knowing every joint, screw, and finish was applied with care. The image provided shows a stunning and practical solution for any backyard: a double garden bench featuring a built-in center table. This design, often called a jack and jill bench or a companion seat, is perfect for morning coffees, sunset drinks, or simply sharing a quiet moment in nature with a loved one.
In this comprehensive guide, we will dive deep into why this specific project is a game changer for woodworkers and homeowners alike. From selecting the right materials to understanding the assembly steps shown in the diagram, you will learn everything you need to know to transform a pile of lumber into a functional work of art for your lawn or patio.
Why the Double Bench with Table Design is a Classic
The beauty of this design lies in its clever combination of two separate chairs into a single, unified piece of furniture. It eliminates the need for a separate side table that might wobble on uneven grass or take up extra space. By integrating the table directly into the frame, you create a stable, sturdy surface that is always right where you need it.
From an aesthetic standpoint, the contrast seen in the photo between the crisp white frame and the warm, natural wood slats creates a modern farmhouse look that fits into almost any landscape design. Whether you have a manicured garden or a rustic backyard, this bench acts as a focal point that invites people to sit down and stay a while.
The Benefits of DIY Garden Furniture
Buying high quality outdoor furniture can be incredibly expensive. Often, the affordable options are made of plastic or flimsy metal that won’t survive more than a couple of seasons. By building it yourself, you control the quality of the wood and the hardware. You can choose weather resistant species like cedar or redwood, ensuring that your bench lasts for decades rather than years. Additionally, you have the freedom to customize the dimensions to fit your specific body type or the specific corner of your garden where you plan to place it.
Deconstructing the Build: A Step by Step Analysis
Looking at the assembly diagrams provided, we can break this project down into manageable phases. Even for a beginner, following a logical order of operations makes the task much less intimidating. Let us explore the logic behind the nine steps shown in the visual guide.
Step 1 and 2: Building the Foundation
Every great structure starts with a solid foundation. In this case, that means constructing the main rectangular frame and attaching the primary legs. Using 2×4 or 2×6 pressure treated lumber is usually the best bet for this part of the build. It is vital to ensure that your frame is perfectly square. If the base is crooked, the entire bench will be off balance, which will make installing the slats and backrests much more difficult later on.
Step 3 and 4: Reinforcing the Structure
Once the basic frame is up, you add horizontal supports. These are the pieces that will eventually hold the weight of the people sitting down. Step 4 shows the addition of the long back rail. This piece is crucial because it provides the attachment point for the backrest slats and helps prevent the legs from splaying outward over time.
Step 5 and 6: The Integrated Table Frame
This is where the magic happens. Step 5 involves installing the inner supports that define the middle section. Unlike a standard long bench, this design requires extra vertical and horizontal bracing in the center to support the tabletop. Step 6 shows the tabletop slats being laid down. This center table acts as a bridge, locking the two seating areas together and providing incredible lateral stability to the entire unit.
Step 7, 8, and 9: Adding Comfort and Style
The final stages involve the seating surfaces and the backrests. As seen in step 7, the backrest frames are angled slightly. This is a small detail that makes a massive difference in comfort. A 90 degree backrest is uncomfortable for long periods; a slight lean of 10 to 15 degrees allows for a much more relaxed posture. Steps 8 and 9 show the completion of the armrests and the final slat installation, turning the skeleton into a finished piece of furniture.
Choosing the Right Materials for Longevity
Since this bench will be living outdoors, material choice is the most important decision you will make. You want wood that can handle moisture, UV rays, and temperature fluctuations without rotting or warping excessively.
Best Wood Species for Outdoor Projects
- Cedar: Naturally resistant to rot and insects, cedar is lightweight and beautiful. It turns a lovely silver gray over time if left untreated, or it can be stained to maintain its reddish hue.
- Redwood: Similar to cedar but often denser and more durable. It is a premium choice for high end outdoor furniture.
- Pressure Treated Pine: The most budget friendly option. While it is chemically treated to resist rot, it can be prone to warping and requires a good sealant or paint job to look its best.
- Teak: The gold standard for outdoor wood. It is incredibly oily and dense, making it almost waterproof, though it is significantly more expensive and harder to work with.
Hardware and Adhesives
Standard interior screws will rust within weeks when exposed to the elements. For this project, you must use stainless steel or galvanized screws. Additionally, using a high quality waterproof wood glue at every joint will provide extra strength, ensuring the bench doesn’t become “wobbly” after a season of use.
Customizing Your Garden Bench
While the image shows a beautiful white and brown contrast, the possibilities for customization are endless. You can truly make this project your own by playing with colors and textures.
Paint vs. Stain
The bench in the photo uses a combination of white paint for the frame and a dark wood stain for the slats. This “two tone” look is very popular because it highlights the grain of the wood while providing a clean, architectural look with the painted frame. If you prefer a more natural look, you could stain the entire piece a single color. If you live in a coastal area, a weathered blue or seafoam green paint could look spectacular.
Adding Comfort Features
While the wooden slats are designed for support, you can easily enhance the comfort by adding custom outdoor cushions. Look for fabrics that are UV resistant and waterproof, such as Sunbrella. Another great addition would be to drill a hole in the center of the middle table to accommodate a patio umbrella, as seen in the small thumbnail in the instruction image. This provides much needed shade on hot summer days.
Maintenance Tips to Protect Your Work
A DIY project is an investment of time and money, so you want to protect it. Even the best wood will eventually succumb to the elements if not maintained. Every two to three years, you should inspect the bench for any signs of peeling paint or fading stain. Give it a light sanding and apply a fresh coat of sealant. During the harsh winter months, if possible, move the bench into a shed or cover it with a heavy duty furniture cover to prevent snow and ice from sitting on the wood surfaces for long periods.
Common Challenges and How to Overcome Them
Every DIY project has its hurdles. One common issue with this specific design is getting the angles of the backrests to match perfectly. To solve this, create a simple cardboard template for the angle. Use this template to mark your cuts on both chairs, ensuring symmetry. Another challenge is ensuring the bench is level. If your backyard has a slope, you might consider making the legs slightly longer than needed and then trimming them once you have placed the bench in its permanent home.
Tools You Will Need
To complete this project successfully, you don’t need a professional workshop, but a few key power tools will make the job much faster:
- Miter Saw: Essential for making clean, square cuts and the angled cuts for the backrest.
- Drill and Driver: For pre-drilling holes (to prevent the wood from splitting) and driving in the screws.
- Orbital Sander: To get those slats smooth so nobody gets a splinter while sitting down.
- Tape Measure and Speed Square: Because accuracy is the difference between a pro looking bench and a backyard disaster.
Wrapping Up Your DIY Journey
Building a double garden bench with a built in table is more than just a weekend task; it is an upgrade to your lifestyle. It creates a destination in your yard, a place to pause and enjoy the fresh air. As the diagram shows, the process is logical and achievable if you take it one step at a time. By selecting quality lumber, focusing on sturdy joinery, and finishing it with a beautiful coat of paint or stain, you will create a piece of furniture that serves as a backdrop for countless memories.
Whether you are an experienced woodworker or picking up a drill for the first time, this project offers the perfect balance of challenge and reward. So, clear a space in the garage, grab your safety glasses, and start building your own outdoor oasis today. Your garden, and your future relaxed self, will thank you for it.