In a world where we are constantly looking for ways to be more mindful of our consumption, the art of upcycling has transformed from a simple hobby into a lifestyle movement. Look at that small, clear plastic bottle with its vibrant pink cap. At first glance, it is just a piece of disposable packaging. But to the creative eye, it represents a blank canvas for organization and aesthetic charm. Small-scale DIY projects like these are taking the internet by storm because they offer a satisfying, immediate result that helps clear the clutter while being incredibly kind to the environment. Turning a standard beverage bottle into a mini cute container is more than just a craft; it is a statement about finding value in the overlooked.
The Rising Popularity of Micro-Organization
There is something inherently satisfying about “tiny stuff.” Whether it is a collection of delicate jewelry, colorful crafting beads, or even those spare buttons that always seem to go missing, small items need a dedicated home. Large storage bins are often too cavernous for these miniature treasures, leading to them getting lost at the bottom of a drawer. This is where the mini container comes in. By utilizing the neck and cap of a plastic bottle, you create a waterproof, airtight, and transparent vessel that fits perfectly on a tiered tray or inside a desk organizer. The trend of micro-organization is all about maximizing utility in the smallest footprint possible, and this DIY project is the gold standard for that philosophy.
Materials You Will Need for This Project
One of the best parts about this specific upcycling project is that you likely already have everything you need sitting in your recycling bin or kitchen drawer. You do not need to make a trip to an expensive hobby store to get started. Here is a quick breakdown of the essentials:
- Plastic Bottles: Look for bottles with interesting shapes or colorful caps. Juice bottles and specialty soda bottles often have the sturdiest plastic.
- Cutting Tools: A sharp pair of scissors or a craft knife will work best. Always exercise caution when cutting through rigid plastic.
- A Heat Source: An iron or a small heat tool can be used to smooth out the cut edges of the plastic so they are not sharp to the touch.
- Decorative Elements: Think about stickers, permanent markers, or even small charms to glue onto the cap to give it that extra dose of personality.
Selecting the Right Bottle
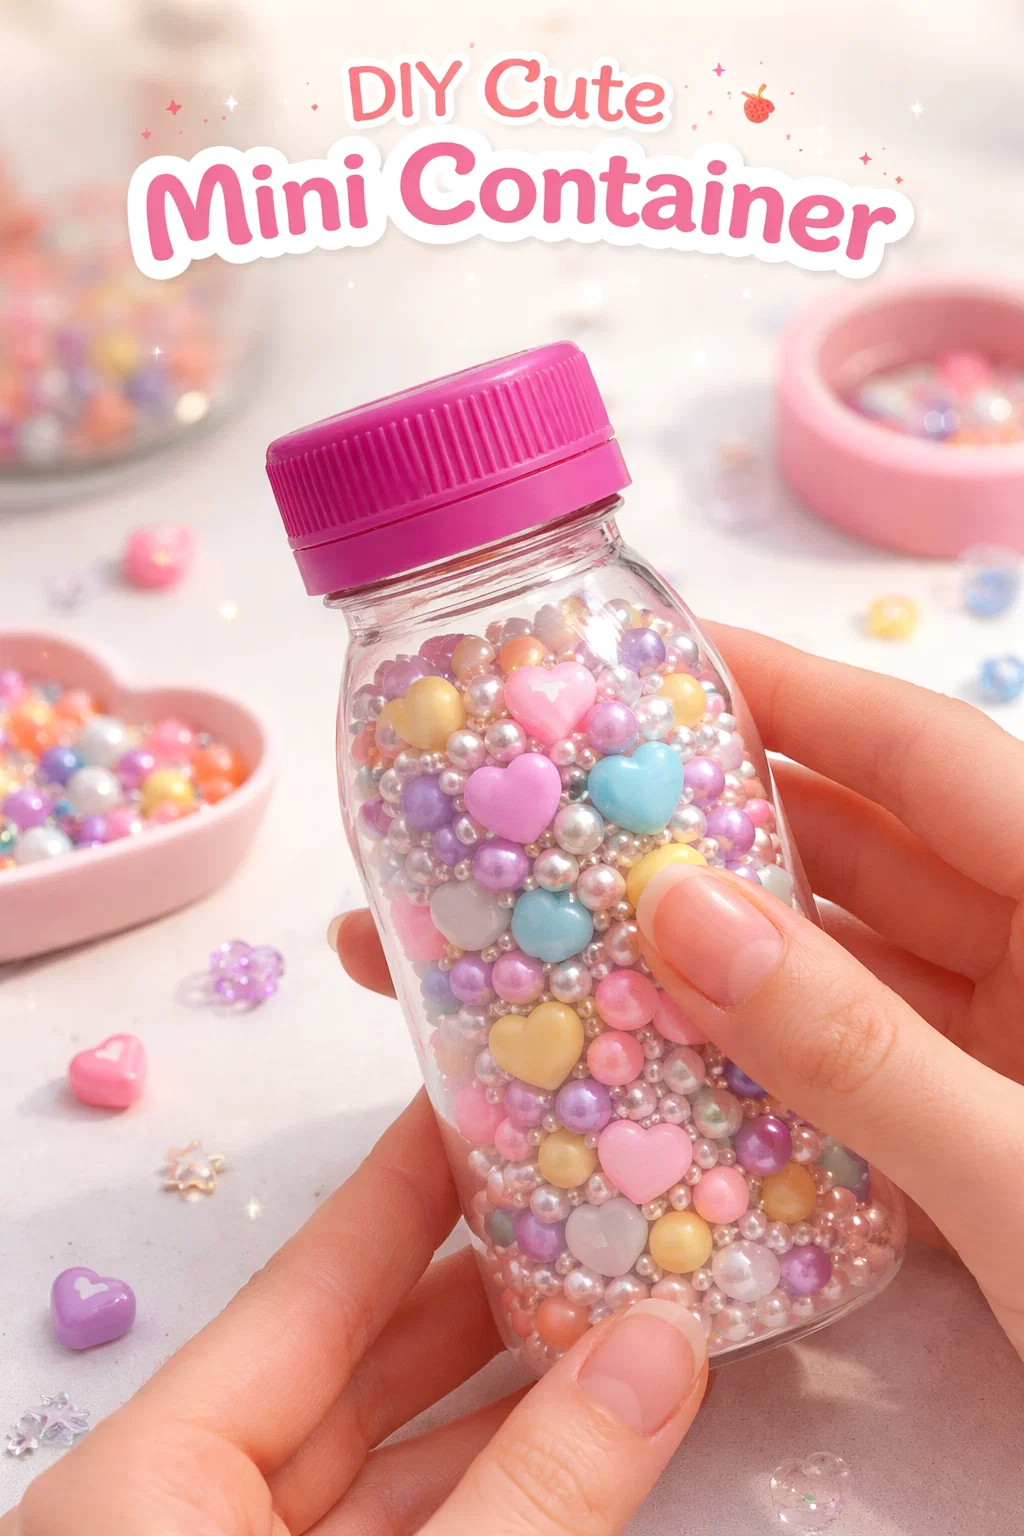
Not all plastic is created equal. For this DIY, you want to look for PET plastic, which is typically clear and strong. The bottle in the image features a slightly tapered neck, which provides a more sophisticated look than a standard water bottle. Pay close attention to the cap as well. The bright pink cap adds an instant “pop” of color, making the container feel intentional rather than accidental. If you are making a set, try to collect bottles with matching caps to create a cohesive look for your vanity or workspace.
Step-by-Step Guide to Creating Your Mini Container
Creating these containers is a fast process, but precision is key to making them look professional. Follow these steps to ensure your “tiny stuff” has the most stylish home possible.
Step 1: Preparation and Cleaning
Start by thoroughly washing your bottle and cap with warm, soapy water. Even if it only held water, any residue can lead to odors or cloudiness over time. Remove any labels completely. If there is stubborn adhesive left behind, a bit of rubbing alcohol or olive oil can help peel it away without scratching the plastic surface. Dry it completely before you begin cutting.
Step 2: Marking Your Cut Line
Decide how deep you want your container to be. For a mini container like the one pictured, you only need the top couple of inches of the bottle. Use a thin permanent marker to draw a straight line around the circumference of the bottle. A helpful trick is to place the marker on a stack of books at the desired height and rotate the bottle against it to get a perfectly level line.
Step 3: The Precise Cut
Using your craft knife, make an initial puncture on the line. Once you have a starting point, switch to scissors for more control. Slow and steady wins the race here. If your edges are a bit jagged, do not worry too much, as we can fix that in the next step.
Step 4: Smoothing the Edges
This is the secret step that separates amateur crafts from professional-looking DIYs. Turn your clothes iron to a medium heat setting (no steam). Press the cut edge of your plastic container against the flat surface of the iron for just a few seconds. The heat will cause the plastic to curl inward slightly, creating a smooth, rounded rim that is safe to handle and looks much more finished.
Creative Ways to Use Your New Containers
Now that you have mastered the build, what exactly should you put inside? The possibilities are endless when it comes to organizing tiny items. Here are some of our favorite ways to utilize these mini cute containers.
Travel Sized Essentials
If you are a frequent traveler, these are perfect for holding small amounts of vitamins, hair ties, or even a DIY pill organizer. Because the caps screw on tightly, you do not have to worry about them popping open in your suitcase like some cheap store-bought travel bottles might.
The Crafter’s Best Friend
For those who enjoy embroidery, jewelry making, or scrapbooking, these containers are a lifesaver. You can sort your seed beads by color, store different sizes of jump rings, or keep your favorite sequins visible and accessible. Since the plastic is clear, you will never have to hunt through a dozen opaque boxes to find the specific shade of blue you need.
Desk and Office Organization
Paperclips, thumbtacks, and staples are notorious for making junk drawers look messy. A row of these mini containers on your desk not only keeps these items contained but also turns mundane office supplies into a decorative element. The pink cap in the image would look fantastic next to a rose gold stapler or a set of pastel highlighters.
Personalizing Your DIY Project
While the minimalist look of a clear bottle and a colored cap is beautiful on its own, you can take your containers to the next level with a few personal touches. Since this project is so low-cost, it is the perfect opportunity to experiment with different aesthetics.
Using Paint and Finishes
If you prefer a more opaque look, you can spray paint the caps with metallic gold or silver for a high-end apothecary vibe. You can even use frosted glass spray on the body of the container to give it a soft, diffused look. This works particularly well if you are using the containers to hold things like cotton swabs or skincare samples.
Adding Labels and Charms
For the ultimate “cute” factor, consider adding a small 3D charm to the top of the cap using a strong adhesive like E6000. A tiny plastic strawberry, a glittery star, or a miniature animal can make these containers feel like something you would find in a boutique gift shop. If you are using them for organization, a small embossed label or a handwritten tag tied around the neck with twine adds a lovely rustic touch.
The Environmental Impact of Upcycling
Beyond the cuteness and the organization, there is a deeper reason to love this project: sustainability. The plastic crisis is a global issue, and while one small bottle might not seem like much, every item diverted from a landfill counts. By repurposing plastic at home, you are reducing the demand for new plastic storage products and giving a second life to a resource that is designed to last for centuries.
Upcycling encourages us to look at “trash” through a lens of potential. It fosters a mindset of resourcefulness that can be applied to all areas of life. When we realize that we can create our own solutions using what we already have, we become less dependent on the cycle of constant buying and discarding.
Tips for Maintaining Your Mini Containers
To keep your upcycled creations looking their best, avoid putting them in the dishwasher. The high heat of a dishwasher cycle can warp the thin plastic and ruin the smooth edges you worked so hard to create. Instead, a simple hand wash with cool water is all they need. If the plastic becomes scuffed over time, a tiny bit of plastic polish or even toothpaste can buff out minor scratches and restore the clarity.
Conclusion: Small Changes, Big Inspiration
The beauty of the “DIY mini cute container” lies in its simplicity. It is a project that takes ten minutes but provides long-lasting value. It reminds us that organization does not have to be expensive and that “tiny stuff” deserves a home that is just as special as the treasures themselves. By following this guide, you have not just made a container; you have practiced a more sustainable way of living and added a unique, handmade touch to your environment.
Next time you finish a bottle of juice or soda, take a moment before you toss it. Look at the cap, feel the weight of the plastic, and imagine what it could become. Whether you are building a fleet of containers for your craft room or just one special jar for your favorite rings, the joy of creating something useful from something discarded is a reward in itself. Happy crafting!