Turning bath time from a chore into the highlight of the day is a goal for every parent. While there are plenty of toys and bubbles on the market, nothing sparks a child’s imagination quite like the ability to turn the bathtub into a giant canvas. If you have been looking for a creative outlet that is safe, inexpensive, and incredibly easy to clean, DIY bath paint is the ultimate solution. This simple project uses just three common household ingredients to create a vibrant palette that will keep your little ones entertained for hours.
The beauty of this specific recipe lies in its simplicity. You do not need to be a professional crafter or have a pantry full of specialized supplies. By combining basics you likely already have in your kitchen and bathroom, you can whip up a batch of non toxic paint that washes away with a simple splash of water. Let’s dive into why this sensory activity is a game changer for your family routine and how you can get started today.
The Magic of Sensory Play in the Tub
Sensory play is a vital part of early childhood development. It encourages children to explore their world through touch, sight, and even smell. When you introduce paint into the bathtub, you are creating a unique environment where the usual rules of “dont make a mess” are relaxed. This freedom allows children to experiment with color mixing, fine motor skills, and creative expression in a way that feels safe and contained.
In a bathroom setting, the stakes are low. If a toddler gets paint on the walls, it is the shower wall. If they get it on themselves, they are already in the water. This stress free environment is just as beneficial for the parents as it is for the kids. You can sit back and watch their creativity unfold without worrying about the carpet or the furniture. It is the perfect rainy day activity or a great way to wind down before bed.
Why Three Ingredients Are All You Need
Many store bought bath products are filled with long lists of chemicals, artificial fragrances, and preservatives that can irritate sensitive young skin. By making your own DIY bath paint, you have total control over the ingredients. This recipe focuses on a base that is gentle, a thickening agent that provides the right consistency, and pigment that is skin safe.
Using a minimal ingredient list also makes this an eco friendly and budget friendly choice. You can make a fresh batch every single time you want to play, ensuring that the product is always clean and effective. There is no need for bulky plastic packaging or expensive shipping costs. It is homemade goodness at its finest.
The Essential Ingredient List
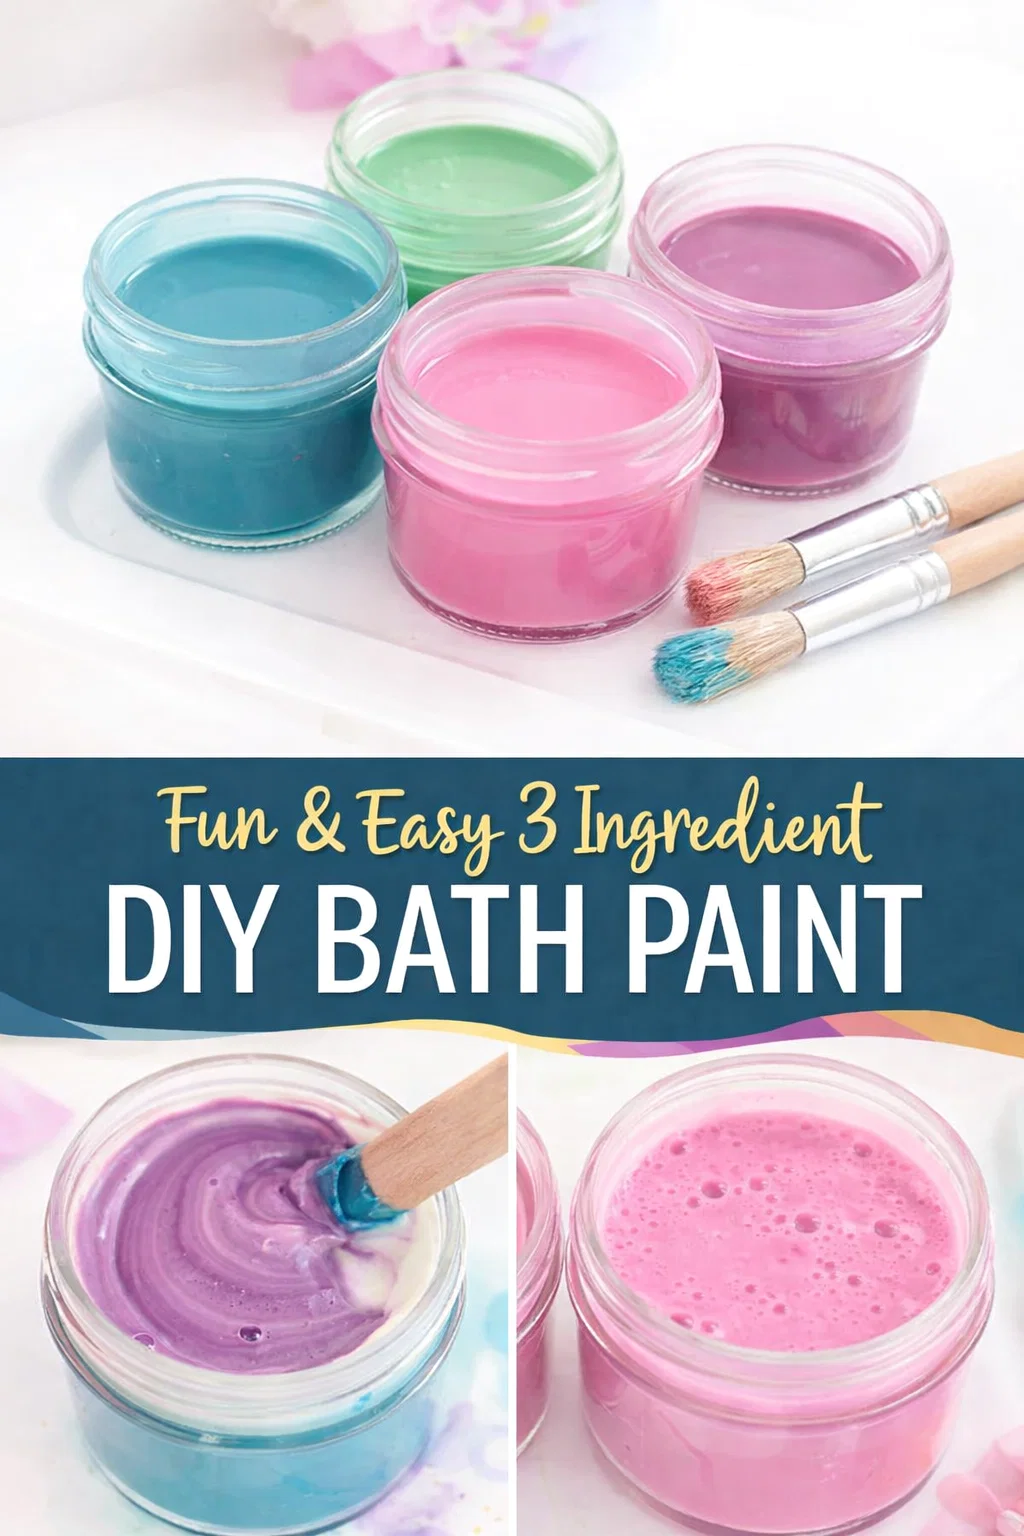
To get started with this easy DIY bath paint, you will need to gather your three star ingredients. Most of these are likely sitting in your cabinets right now. Here is what you will need to create the vibrant jars of color seen in the inspiration photo.
- Mild Clear Liquid Soap or Baby Wash: This serves as the base of your paint. Using a clear soap ensures that your colors remain bright and true. It also provides the “cleaning” element, so your kids are actually getting clean while they play.
- Cornstarch: This is the secret to the perfect paint consistency. Cornstarch thickens the liquid soap, giving it a creamy texture that sits well on a paintbrush and clings to the bathtub walls without immediately sliding down.
- Washable Food Coloring: This provides the vibrant hues. A little goes a long way. Food coloring is generally safe for skin contact in diluted amounts and creates beautiful jewel tones like the teals, pinks, and purples shown in the jars.
Optional Tools for the Best Experience
While the ingredients are the most important part, having the right tools can enhance the fun. Small glass or plastic jars are perfect for holding the different colors. You can use a muffin tin if you want to keep everything in one place. Additionally, provide a variety of paintbrushes. Thick brushes are great for broad strokes, while sponges can be used for stamping shapes onto the tub surface.
Step by Step Guide to Crafting Your Bath Paint
Ready to get started? Follow these simple steps to create your own set of DIY bath paints. The process takes less than five minutes from start to finish.
1. Prepare Your Base
Start by pouring about two tablespoons of your liquid soap into a small container. If you want to make multiple colors, set out several jars at once. It is best to work in small batches so the paint stays fresh and easy to manage.
2. Thicken the Mixture
Add about one to two tablespoons of cornstarch to the soap. Use a small wooden stick or a spoon to stir the mixture thoroughly. You are looking for a consistency that is similar to tempera paint or a thick pudding. If it is too runny, add a pinch more cornstarch. If it is too thick and clumpy, add a few more drops of soap.
3. Add the Color
Now comes the fun part. Add one or two drops of food coloring to each jar. Start with a small amount, as you can always add more to deepen the shade. Stir until the color is completely incorporated. You can stick to primary colors or experiment with mixing to create custom shades like lavender, mint green, or coral pink.
Tips for a Mess Free Cleanup
The number one question parents ask about DIY bath paint is whether it will stain the bathtub or the grout. While food coloring is generally washable, the presence of soap in the recipe acts as a barrier and a cleaning agent, making it much less likely to leave any marks behind. However, there are a few tips to ensure your bathroom stays sparkling clean.
First, always test a small, inconspicuous area of your tub before a full play session, especially if you have a porous stone or an older acrylic tub. Second, try to rinse the paint off the walls as soon as the bath is over. If the paint dries completely, it might require a quick scrub with a sponge, but it should still come off easily. Finally, avoid using excessive amounts of dark blue or red pigment, as these are the most likely to leave a temporary tint on skin or surfaces.
Safe and Fun for All Ages
This activity is generally recommended for toddlers and school aged children who have moved past the stage of putting everything in their mouths. Even though the ingredients are common household items, it is not meant to be eaten because of the high soap content. Always supervise your children during bath time to ensure they are using the paints correctly and staying safe in the water.
Creative Ideas for Bathtub Art
Once the paints are ready, it is time to let the kids take over. If they need a little inspiration to get started, you can suggest a few different activities. They can practice writing their names or drawing shapes on the walls. For older children, you can challenge them to paint a specific scene, like an underwater coral reef or a sunset.
Another fun idea is to use the paint for educational purposes. You can write letters or numbers and have them identify them. Or, you can give them a red jar and a blue jar and let them discover for themselves that mixing the two creates purple. The bathtub becomes a laboratory for color theory and artistic discovery.
Enhancing the Bathroom Decor
As we saw in the inspiration for this post, these paints can actually serve as a temporary form of bathroom decor. If you use beautiful glass jars and arrange them neatly on a shelf or the edge of the tub, they add a pop of color to the room. The vibrant teals and soft pinks can brighten up a white bathroom and make the space feel more lived in and joyful. Just remember to put the lids on tight when they are not in use to prevent the cornstarch mixture from drying out.
Why DIY is Better Than Store Bought
Choosing to make your own bath paint is a small but meaningful way to embrace a more intentional lifestyle. You are reducing waste by reusing jars and avoiding single use plastics. You are saving money by using ingredients that cost pennies per batch. Most importantly, you are providing your child with a high quality, safe, and engaging experience that you created yourself.
There is a certain satisfaction that comes from seeing your child happily painting away with something you whipped up in the kitchen. It proves that you do not need expensive gadgets or high tech toys to create lasting memories. Sometimes, all it takes is a little soap, some cornstarch, and a splash of color to make the ordinary feel extraordinary.
Conclusion and Final Thoughts
DIY bath paint is one of those rare activities that hits all the right notes: it is easy to make, fun to use, and simple to clean up. It encourages creativity, supports sensory development, and turns a routine task into a playful adventure. Whether you are looking to entertain a restless toddler or simply want to add a bit of color to your home life, this three ingredient recipe is a must try.
The next time you are staring at a long afternoon or a fussy bath time, remember how easy it is to transform your tub into an art studio. Grab your supplies, mix up some vibrant hues, and let the painting begin. Your kids will love the freedom to create, and you will love the peace and quiet that comes with a fully engaged child. It is a win for everyone involved.
Give this project a try this weekend and see how much fun your family can have. Do not forget to take a few photos of the masterpieces before they get washed away. After all, the best kind of art is the kind that leaves a smile on your face and no mess on your floors. Happy painting!