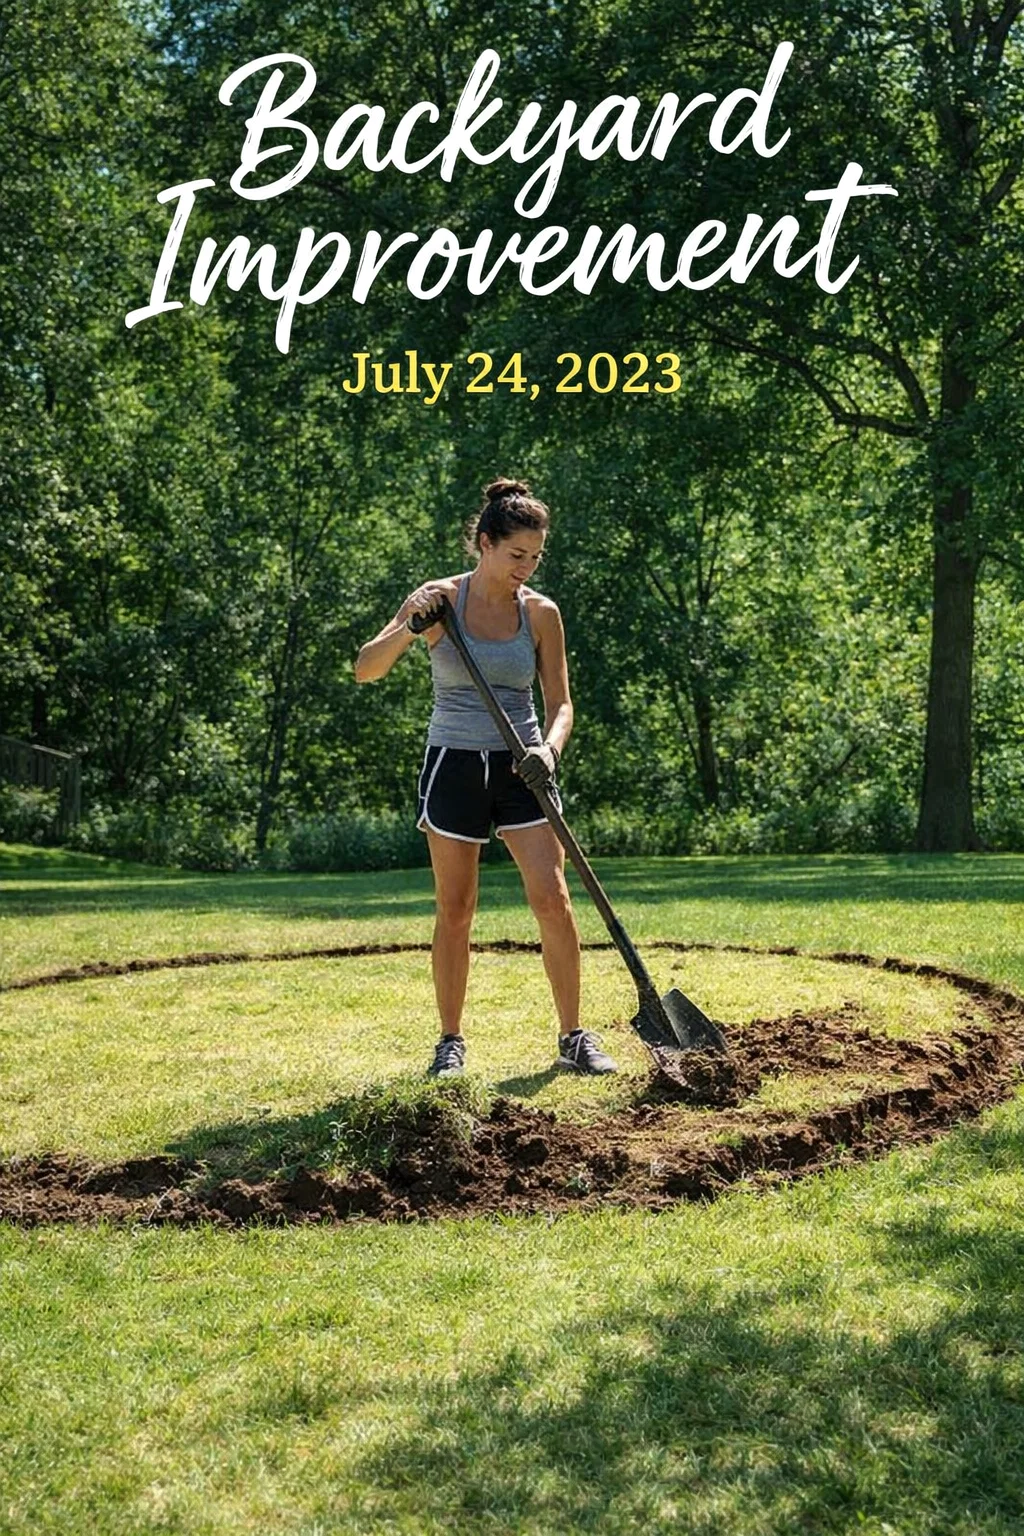
Transforming a standard backyard into a functional outdoor oasis is a journey that often starts with a single shovel in the ground. If you have been looking at your lawn and wondering how to elevate its aesthetic while creating a space for gathering, starting a DIY fire pit project is one of the most rewarding home improvements you can undertake. The image captures that pivotal first moment: the marking and excavation of a perfect circular bed. This initial stage is where the magic begins, turning a flat patch of grass into a focal point for your entire property.
Choosing the Right Location for Your Backyard Fire Pit
Before the first piece of sod is flipped, the most important decision you will make is where the pit will live. Safety is the primary concern when dealing with open flames. You want to ensure the area is at least ten to twenty feet away from your house, overhanging trees, or low-lying sheds. Take a walk around your yard at different times of the day to see how the shadows fall and where the wind tends to blow. You do not want smoke blowing directly into your open windows or toward your neighbors patio.
Flat ground is your best friend in this process. While you can certainly build on a slope, it requires significantly more leveling and potentially the construction of a small retaining wall. By choosing a naturally level spot, you save yourself hours of backbreaking labor. Once you have found the sweet spot, use a stake and a piece of string to act as a giant compass. This ensures your circle is perfectly symmetrical, which is the secret to a professional-looking finished product.
Essential Tools and Materials for the Excavation Phase
As seen in the photo, the right tools make the job significantly easier. You do not need heavy machinery for a standard backyard pit, but a few high-quality hand tools are non-negotiable. Having these ready before you start will keep your momentum going and prevent unnecessary trips to the hardware store.
The Sharpshooter Shovel
A round-point shovel or a dedicated sod cutter is ideal for slicing through the thick roots of the grass. In the image, the clean edge of the circle is being established by driving the shovel straight down. This creates a crisp border that prevents the surrounding grass from encroaching on your new feature.
Safety Gear and Preparation
Never underestimate the physical toll of yard work. Supportive footwear, such as the sneakers shown, and a sturdy pair of work gloves are essential to prevent blisters and protect your hands from rocks or debris hidden in the soil. Staying hydrated and taking frequent breaks will ensure you finish the project with as much enthusiasm as you started with.
Step by Step Guide to Cutting and Removing Sod
Removing grass is often the most labor-intensive part of the project, but doing it correctly provides a stable foundation for your fire pit stones or pavers. If you simply build on top of the grass, the organic matter will eventually rot, causing your fire pit to shift and become uneven over time.
Start by scoring the perimeter. Use your shovel to follow the circular line you marked earlier. Once the outline is complete, it is helpful to cut the interior of the circle into a grid pattern. By creating smaller squares of sod, you can pry them up one by one rather than trying to lift a massive, heavy sheet of earth. These sod patches do not have to go to waste; if you have bare spots elsewhere in your lawn, you can transplant them or add them to your compost pile.
The depth of your hole depends on the type of fire pit you are building. For a traditional stone ring, a depth of about four to six inches is usually sufficient. This allows space for a base layer of gravel, which is crucial for drainage. Without proper drainage, your fire pit could turn into a muddy puddle every time it rains.
Creating a Solid Foundation with Base Materials
Once you have a clean, dirt-floored circle, it is time to think about the base. A common mistake is placing stones directly onto the dirt. Soil shifts with moisture and temperature changes, which leads to a wobbly structure. To avoid this, you should fill your excavated area with a layer of crushed stone or leveling sand.
The Importance of Drainage
Using a coarse gravel base allows rainwater to seep through into the ground rather than sitting at the bottom of your pit. It also provides a level surface for your first layer of blocks. Spend extra time with a level during this stage. If the first ring of stones is level, the rest of the build will be a breeze. If it is crooked, every subsequent layer will exaggerate that lean.
Heat Resistance and Safety Liners
Depending on the materials you choose for the walls, you might want to consider a steel fire ring insert. These inserts protect the decorative stones from direct heat, which can cause some types of rock to crack or even explode if they contain trapped moisture. The metal ring acts as a barrier and gives the interior of your pit a clean, finished appearance.
Design Styles to Match Your Outdoor Aesthetic
The beauty of a DIY project is that you can tailor the design to fit your personal style. Whether your home is a modern minimalist sanctuary or a rustic farmhouse, there is a fire pit design that will complement your landscape perfectly.
- The Rustic Stone Look: Use natural fieldstones or rough-edged pavers to create a look that feels like it has always been part of the landscape.
- Modern Minimalist: Opt for smooth, concrete blocks in a grey or charcoal tone. This looks incredible when paired with black lava rocks inside the pit.
- The Sunken Fire Pit: For a more intimate feel, you can dig deeper and create a pit that sits flush with the ground. This requires extra attention to drainage but creates a stunning, campfire-like atmosphere.
Enhancing the Area with Seating and Landscaping
A fire pit is more than just a hole for fire; it is a destination. To make it truly inviting, you need to think about the space surrounding the circle. The area where you stand in the photo will eventually need to accommodate chairs, side tables, and perhaps a few decorative plants.
Consider creating a larger outer circle of pea gravel or mulch. This defines the “fire zone” and prevents chairs from sinking into the grass. It also adds another layer of safety by creating a non-flammable perimeter around the flames. For seating, Adirondack chairs are a classic choice for a reason. They are comfortable, durable, and provide that quintessential summer evening vibe. You could also build permanent wooden benches or use large flat boulders for a more organic seating arrangement.
Maintenance and Long-Term Care for Your Fire Pit
After the hard work of digging and building is over, a little maintenance goes a long way in preserving your new favorite spot. Regularly clearing out ash is important because wet ash can become acidic and damage the base of your pit or the metal liner. You can actually use wood ash in your garden in small amounts as a source of potassium for your plants.
Covering your fire pit when it is not in use is another great way to extend its life. A simple waterproof cover prevents the interior from becoming a home for debris and keeps the stones dry so you can start a fire whenever the mood strikes. During the winter months, if you live in a climate with heavy snow, a sturdy cover is even more vital to prevent the freeze-thaw cycle from shifting your masonry work.
The Mental Health Benefits of Outdoor Projects
Beyond the physical value added to your home, the act of getting outside and working with your hands has incredible benefits for your well-being. There is something deeply satisfying about looking at a finished project and knowing that you built it from the ground up. It encourages mindfulness, as you have to focus on the task at hand, the feel of the soil, and the rhythm of the work.
Once the project is complete, the fire pit becomes a place of disconnection from the digital world. It is a space where the family can gather without screens, where stories are told, and where you can simply watch the flames and decompress after a long day. The effort you put into digging that circle today will pay off in countless hours of peace and connection in the future.
Conclusion: Your Backyard Transformation Awaits
Taking that first step to dig into your lawn is the hardest part of the entire process. As we see in the progress photo, the vision is already taking shape. By following the proper steps for location, excavation, and foundation building, you are setting yourself up for a successful DIY experience. You do not need to be a professional landscaper to create something beautiful; you just need a plan, a sturdy shovel, and a bit of elbow grease.
So, grab your gloves and head outside. The perfect summer night, complete with the smell of woodsmoke and the glow of embers, is closer than you think. Once you finish your circular garden bed or fire pit, you will wonder why you waited so long to start. Happy building!