Stepping into a cluttered storage shed or workshop can immediately sap your creative energy. We have all been there, looking at a mountain of tangled garden hoses, misplaced hand tools, and half empty bags of potting soil. However, the image of a perfectly organized workspace tells a different story. It shows a place where efficiency meets aesthetics, proving that your utility space can be just as beautiful as the rest of your home. Creating a functional workshop is not just about cleaning up; it is about designing a system that supports your hobbies and home maintenance tasks seamlessly.
The Power of Vertical Storage and Pegboards
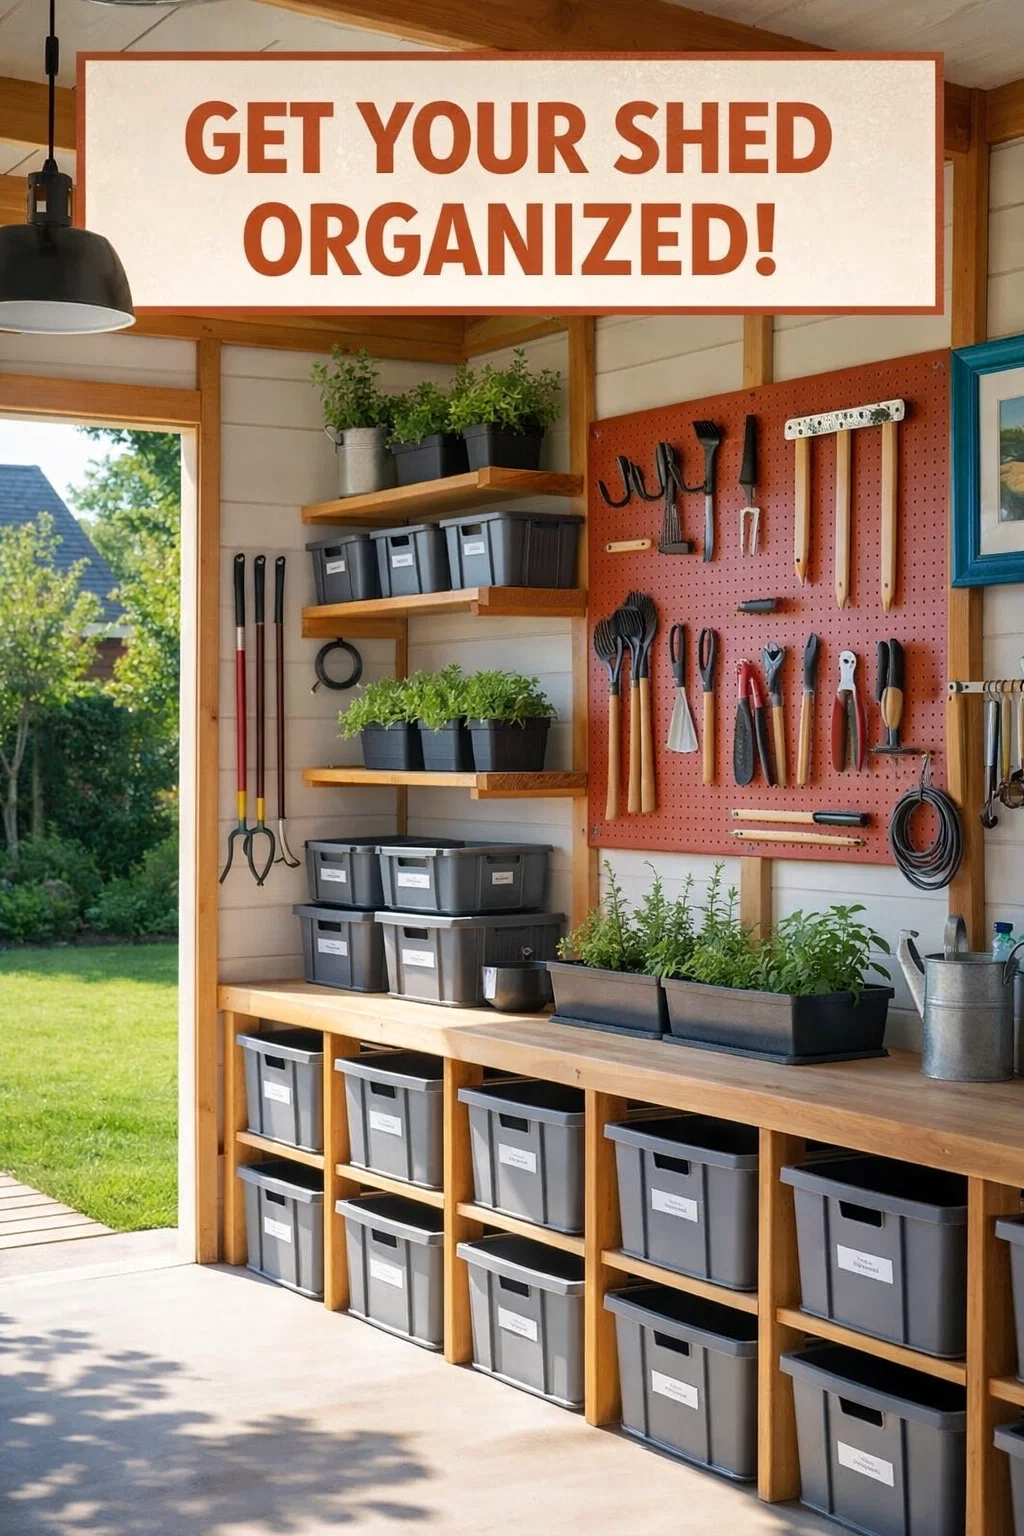
One of the most striking features of a well managed workshop is the use of wall space. When you look at a professional setup, the floor is usually clear because the walls are doing the heavy lifting. A bright, high contrast pegboard is a game changer for hand tool organization. By mounting your pliers, shears, and wrenches on a pegboard, you keep them at eye level and within arm reach. This eliminates the need to rummage through deep, dark drawers where sharp tools often hide.
To make this system work for you, consider grouping your tools by task. For instance, keep all your pruning and gardening shears in one section and your woodworking tools in another. Using a bold color for the pegboard, like the vibrant red seen in many modern sheds, does more than just add a pop of personality. It creates a visual focal point that makes it easier to spot missing items at the end of the day. If a hook is empty, you know exactly what needs to be cleaned and returned to its home.
Maximizing Shelf Efficiency with Uniform Bins
Shelving is the backbone of any storage shed, but flat surfaces often become magnets for clutter. The secret to maintaining these areas is the use of uniform storage bins. When you use containers of the same size and color, you reduce visual noise. This creates a sense of calm and order that makes the shed feel larger and more inviting. Gray or neutral toned bins are excellent because they look clean even in a dusty workshop environment.
Open shelving allows for quick access, but it requires a disciplined approach. By utilizing sturdy wooden shelves built into the frame of the shed, you create a permanent architecture for your gear. This setup is particularly effective for storing items like power tool batteries, painting supplies, or seasonal decor. The key is to ensure that the bins are not just stacked but are easily accessible. A tiered shelving unit allows you to pull out one bin without causing a landslide of other equipment.
The Importance of Clear Labeling
Even the best organization system will fail if you cannot remember where you put things. Labeling is the final step that turns a tidy room into a functional system. Each bin should have a clear, legible label on the front. This is not just for you; it is for anyone else in the household who might need to find a screwdriver or a bag of birdseed. When every item has a designated, labeled home, the “where is it” frustration disappears entirely.
You can use a simple label maker or even hand written tags for a more rustic look. The goal is consistency. If you are a high volume DIYer, you might even categorize your labels by frequency of use. Keep the “General Hardware” bin on a lower, easy to reach shelf, while “Holiday Lights” can go on the very top rack. This logic based placement ensures that your most frequent tasks are the easiest to start.
Creating a Dedicated Potting and Project Station
A workshop is not just for storage; it is a place for action. Incorporating a sturdy workbench or a potting station into your shed layout changes the dynamic of the space. A long, natural wood countertop provides ample room for repotting plants, assembling furniture, or repairing household items. The beauty of a dedicated workspace is that you can leave a project mid way through and return to it later without taking up the kitchen table.
Notice how integrating greenery into the workshop can bridge the gap between the indoors and the garden. Keeping small herb pots or starter plants on your indoor shelves not only keeps them safe from the elements but also breathes life into the utility space. It transforms the shed from a cold storage unit into a vibrant part of your lifestyle. Natural light from a wide doorway or window further enhances this effect, making the workshop a place where you actually want to spend time.
Choosing the Right Materials for Longevity
When building out your organization system, the materials you choose matter. Wood is a classic choice for shelving and workbenches because it is sturdy, easy to customize, and has a warm, inviting feel. High quality plywood or solid timber can handle the weight of heavy toolboxes and soil bags without bowing over time. Pairing wood with metal elements like pegboards and steel hooks creates an industrial chic look that is both trendy and incredibly durable.
Floor durability is another consideration. A smooth concrete floor is ideal for a workshop because it is easy to sweep and can handle spills from oils or fertilizers. If you are working in a wooden shed, adding a durable floor mat or a coat of protective sealant can help preserve the wood from the wear and tear of heavy foot traffic and equipment movement.
Streamlining Your Garden Tool Collection
Long handled tools like rakes, hoes, and shovels are notoriously difficult to store. They often end up leaning in a corner, falling over every time you grab one. A specialized wall rack or a series of heavy duty hooks can solve this problem instantly. By hanging these tools vertically against the wall, you reclaim floor space and protect the tool heads from moisture and damage.
It is also helpful to keep your most used garden tools near the entrance of the shed. This allows for quick “grab and go” moments when you just need to do a five minute weeding session. Organizing by length and type also helps you quickly scan your inventory. You will never accidentally buy a second garden fork because you couldn’t find the first one buried under a pile of burlap bags.
Lighting and Ambiance in the Workspace
Good lighting is often overlooked in storage sheds, but it is essential for safety and productivity. A single overhead light might not be enough to see into the back of deep bins or to perform detailed tasks at the workbench. Incorporating task lighting, such as a large pendant lamp or LED strips under the shelves, ensures that every corner is visible. This is especially important if you enjoy working on projects in the evening or during the shorter days of winter.
Beyond functionality, don’t be afraid to add a little style. A framed picture, a stylish clock, or a neat row of terracotta pots can make the space feel personalized. When a workshop looks good, you are more likely to keep it clean. It becomes a point of pride rather than a chore to maintain. The goal is to create a space that feels like a natural extension of your home design preferences.
Maintenance Habits for a Clutter Free Life
The hardest part of organization is not the initial setup; it is the maintenance. To keep your workshop looking like a Pinterest dream, you need to establish a few simple habits. Spend five minutes at the end of every project putting tools back in their labeled spots. Sweep the floor once a week to prevent the buildup of sawdust and dirt. Every season, do a quick audit of your bins to see if there are supplies you no longer need or seeds that have expired.
If you find that a certain area is constantly getting messy, it is a sign that the system isn’t working for your specific workflow. Don’t be afraid to move things around. Maybe the pegboard needs to be closer to the workbench, or perhaps you need more bins for a growing collection of painting supplies. A truly great workspace evolves with you and your interests.
Conclusion: Building Your Dream Workshop
Transforming a chaotic shed into an organized workshop is one of the most rewarding DIY projects you can undertake. By focusing on vertical storage, clear labeling, and a dedicated workspace, you create an environment that fosters creativity and reduces stress. Whether you are potting spring flowers or building a new bookshelf, having a place for everything makes the process more enjoyable. Start small by clearing one corner or installing a single pegboard, and soon you will have a workspace that is as functional as it is beautiful. Remember, the best time to organize your space is today, so you can spend tomorrow doing what you love. Happy organizing!