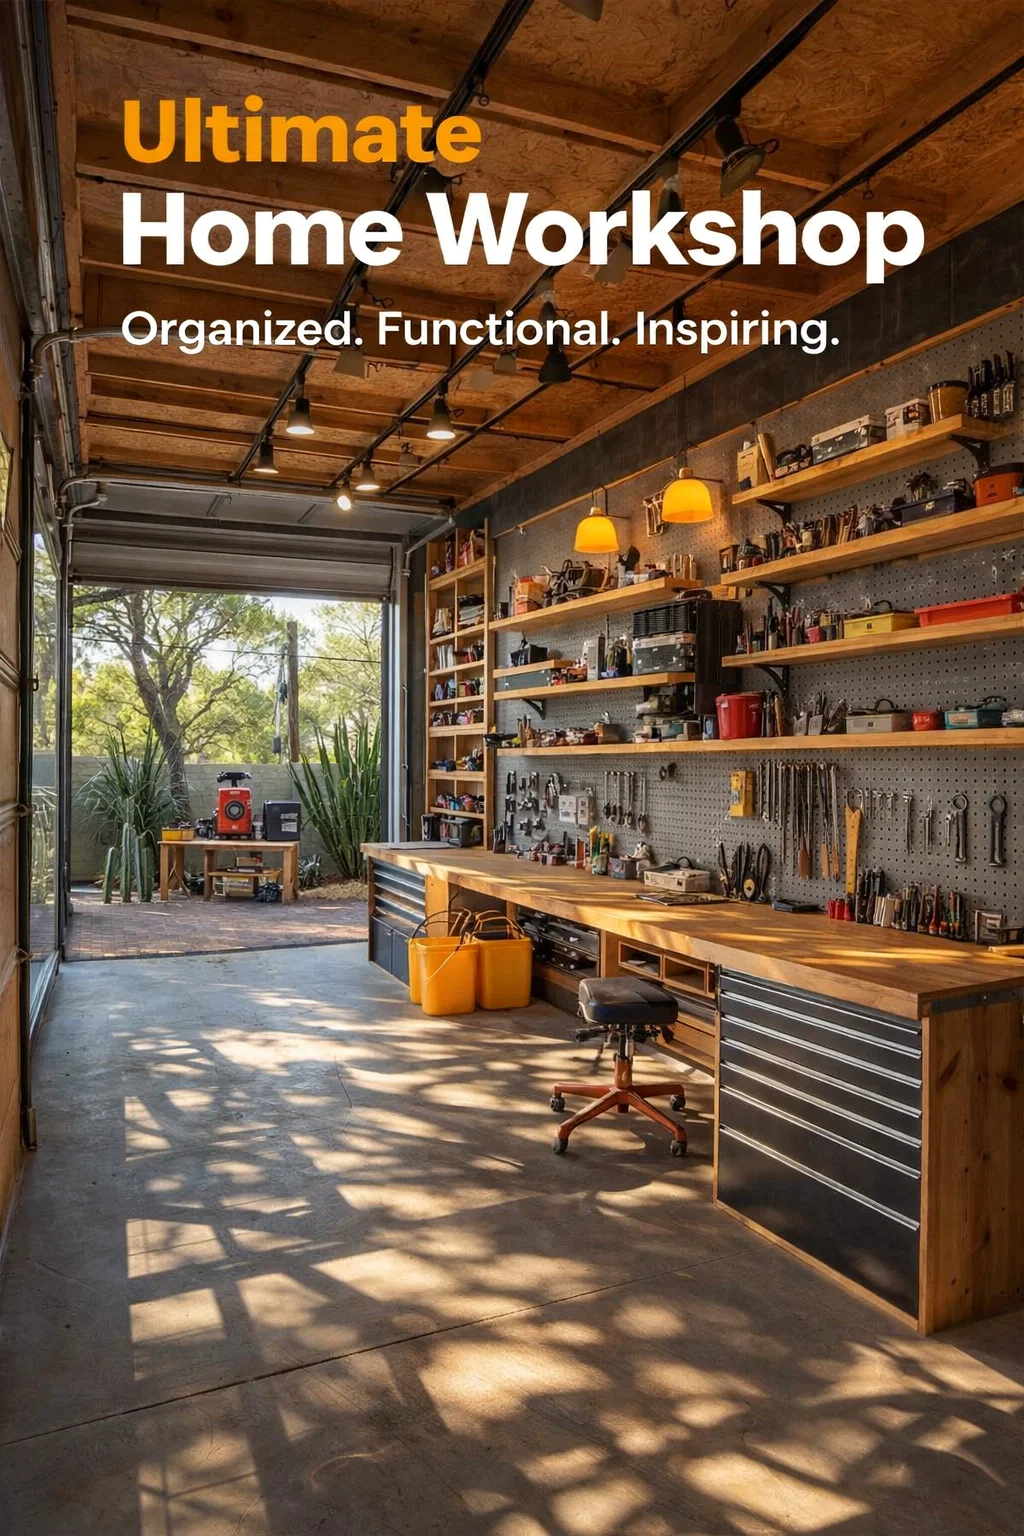
Walking into a perfectly organized workspace is like taking a deep breath of fresh air. There is something profoundly satisfying about seeing a massive butcher block workbench bathed in warm light, with every screwdriver, wrench, and hammer precisely where it belongs. The image of this modern garage workshop represents more than just a place to fix things; it is a sanctuary for creativity and craftsmanship. When your tools are easy to find and your work surface is clear, the barrier between an idea and a finished project disappears. In this guide, we will explore how to turn a cluttered garage into a high-functioning, professional-grade workshop that inspires you to create every single day.
The Foundation of a Great Workshop: The Workbench
The centerpiece of any productive shop is the workbench. In the featured workspace, the expansive wooden surface provides ample room for assembly, finishing, and heavy-duty tasks. A solid wood top, such as butcher block or thick plywood, is ideal because it offers durability while being forgiving on your projects. Unlike metal surfaces, wood absorbs vibration and won’t scratch delicate workpieces as easily.
Choosing the Right Depth and Height
Ergonomics play a massive role in how long you can work without feeling fatigued. A workbench should typically be between 34 and 38 inches high, depending on your height and the type of work you do. If you spend your time doing detailed assembly, a slightly higher bench prevents back strain. The depth is equally important. You want enough space to spread out, but you should still be able to reach your tool wall without overextending your arms. A depth of 24 to 30 inches is usually the sweet spot for most garage setups.
Integrated Storage Solutions
Notice how the workbench in the image features integrated metal drawers underneath. This is a masterclass in utilizing vertical space. Storing heavy power tools or frequently used hardware directly beneath your primary work area keeps the top clutter-free. Using high-quality drawer slides ensures that even when the drawers are loaded with heavy wrenches or drills, they open smoothly and withstand years of shop abuse.
Mastering Vertical Storage with Pegboards
If you look at the wall behind the workbench, the pegboard system stands out as the unsung hero of organization. Vertical storage is the most efficient way to manage a large collection of hand tools. By moving tools off the bench and onto the wall, you maximize your square footage and keep everything visible. There is no more digging through a messy toolbox to find a specific sized socket when everything is silhouetted right in front of you.
Customizing Your Pegboard Layout
One of the best things about a pegboard is its versatility. You can use a variety of hooks, bins, and brackets to hold everything from rolls of tape to sets of pliers. For a professional look, group your tools by category. Keep all your measuring tools in one section, your cutting tools in another, and your fastening tools in a third. This logical grouping speeds up your workflow because your hands instinctively know where to reach during a project.
Adding Floating Shelves for Bulkier Items
While pegboards are great for small items, you also need a place for things that don’t hang well. Above the pegboard in the image, sturdy wooden shelves provide a home for larger items like chargers, paint cans, and storage bins. These shelves should be mounted into the wall studs to ensure they can handle significant weight. Using the space near the ceiling for long-term storage or less-frequently used items is a smart way to keep your immediate work zone focused on the task at hand.
Lighting and Atmosphere: Setting the Stage
Many people overlook lighting when designing a workshop, but it is actually one of the most critical elements. Working with sharp tools or performing detailed finishes requires excellent visibility to ensure safety and quality. The track lighting seen in the workshop image is a fantastic choice because it allows you to aim light exactly where you need it most, eliminating shadows that can be dangerous or frustrating.
Layering Your Shop Lighting
A professional setup uses three types of light: ambient, task, and accent. Ambient lighting is the general overhead light that fills the room. Task lighting focuses directly on the workbench, such as the under-shelf LED strips or adjustable lamps. Finally, accent lighting, like the warm orange lamps seen in the photo, creates an inviting atmosphere that makes you want to spend time in the space. Natural light from a large garage door is also a massive plus, as it provides the most accurate color representation for painting or staining.
Temperature Control and Ventilation
A garage can become a refrigerator in the winter or an oven in the summer. To make your workshop a year-round destination, consider insulation and ventilation. Large doors allow for excellent airflow when working with finishes or sawdust, but having a dedicated dust collection system or a shop vac nearby is essential for maintaining air quality. A comfortable environment ensures that you stay focused on your craftsmanship rather than the weather.
Smart Organization for Small Parts and Hardware
Nothing slows down a project like hunting for a specific screw or a matching washer. The most successful workshops use a tiered system for hardware storage. Small clear bins or a wall-mounted apothecary-style cabinet are perfect for sorting fasteners by size and type. Labeling these bins might feel like extra work initially, but it saves hours of frustration over the course of a year.
The Beauty of Mobile Tool Stations
In the background of the image, you can see mobile stations and rolling equipment. If you have a multi-purpose garage, mobility is your best friend. Putting heavy machinery like table saws or planers on locking casters allows you to pull them into the center of the room when needed and tuck them against the wall when you need to park a car or clean the floor. A rolling shop stool, like the one pictured, is another great addition that allows you to move between different sections of your workbench without constantly standing up and sitting down.
Creating a Sustainable Workflow
Setting up the workshop is only half the battle; maintaining it is the other. A professional-grade shop stays that way because of a commitment to the “end of day” reset. Taking ten minutes at the end of every session to put tools back on their hooks and sweep the sawdust off the bench ensures that you are ready to start fresh the next time inspiration strikes. This habit prevents the gradual creep of clutter that eventually makes a workspace unusable.
Safety First in the Shop
An organized shop is a safe shop. When tools have dedicated homes, you are less likely to leave a sharp chisel lying under a pile of wood scraps. Always ensure that your heavy-duty power strips are not overloaded and that your walkways are clear of tripping hazards. Keep a first aid kit and a fire extinguisher in a highly visible, easy-to-reach location. Safety should never be an afterthought in a space where you are working with power and heat.
Conclusion: Building Your Creative Sanctuary
Your workshop is an extension of your creative mind. By investing time into the layout, lighting, and organization, you are investing in the quality of your future projects. Whether you are a seasoned woodworker or a weekend DIY enthusiast, having a space that looks as good as it functions makes every task more enjoyable. Use the inspiration from this modern, rustic setup to evaluate your own space. Start with the workbench, master your vertical storage, and don’t forget the power of good lighting. Once your environment is dialed in, there is no limit to what you can build. It is time to clear the clutter, hang the pegboard, and get to work on your next masterpiece.