Walking into a cluttered workshop can feel like walking into a maze where every turn is blocked by a misplaced power tool or a tangled cord. We have all been there, standing in the middle of a garage or shed, holding a piece of lumber and wondering exactly where the tape measure disappeared to this time. It is a common frustration for DIY enthusiasts and professional makers alike. However, the good news is that a disorganized space is just a project in disguise. By taking control of your tool storage, you are not just cleaning up a room; you are actually upgrading your productivity and making every future project more enjoyable. A well organized workshop allows your creativity to flow without the constant interruption of a search party for your basic hand tools.
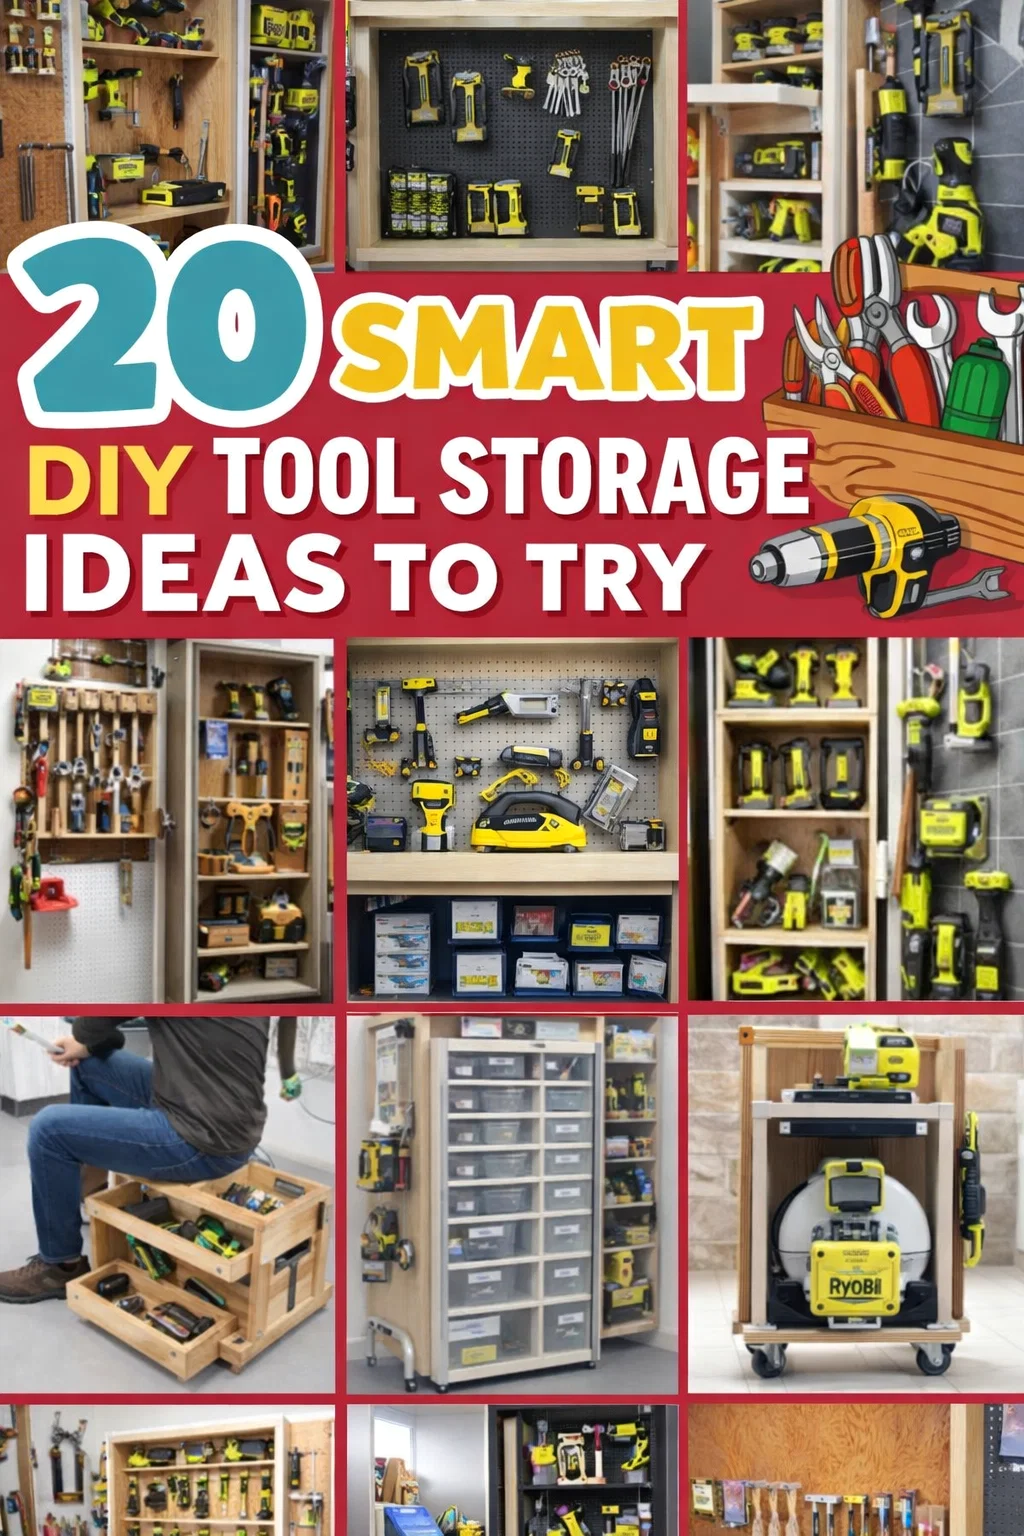
The image we are looking at today is a perfect roadmap for anyone ready to reclaim their workspace. It showcases a diverse range of clever, make your own solutions that prove you do not need an unlimited budget to have a world class setup. From vertical pegboards that utilize every inch of wall space to mobile carts that bring the tools to you, these ideas represent the pinnacle of functional design. In this guide, we will dive deep into why these specific storage solutions work and how you can implement them in your own home to create the ultimate organized sanctuary for your craft.
The Power of Vertical Storage and Pegboards
One of the most striking elements in the featured storage ideas is the heavy use of vertical space. In a typical workshop, floor space is the most valuable real estate you have. When you start mounting tools on the walls, you open up the floor for larger projects, assembly tables, and movement. Pegboards are the undisputed kings of this approach. They offer a level of flexibility that traditional shelving simply cannot match. With a simple hook or a custom 3D printed bracket, you can hang everything from heavy hammers and saws to delicate paintbrushes and precision calipers.
Customizing Your Pegboard Layout
To get the most out of a pegboard system, it is important to think about your workflow. Do not just hang tools randomly. Instead, group them by task. Keep your measuring and marking tools near your workbench. Place your most frequently used screwdrivers and pliers at eye level. By creating dedicated zones, your brain begins to develop muscle memory. Eventually, you will find yourself reaching for a tool and putting it back without even looking, which keeps your workspace clean throughout the entire duration of a build.
Beyond the Standard Board
While standard white pegboards are great, many of the clever ideas in the image show custom wooden backboards or French cleat systems. French cleats are particularly popular because they allow you to create heavy duty tool holders that can be moved around as your tool collection grows. If you buy a new circular saw, you can simply build a new wooden cradle for it and slide it onto the wall rack without drilling new holes. This adaptability is key for a growing workshop.
Mobile Tool Carts and Rolling Stations
Static storage is great, but sometimes the project moves around, and your tools should be able to move with it. Mobile tool carts, like the ones seen in the lower sections of the image, are essential for larger garages. A rolling cart can serve multiple purposes. It can be a dedicated station for a specific machine, like a miter saw or a planer, or it can be a general purpose utility cart that holds your “go to” kit for the day.
Building a Dedicated Tool Tower
A tool tower is a vertical cabinet on wheels. This design is perfect for power tool storage because it allows you to store bulky items like drills, impact drivers, and sanders in a compact footprint. Many makers choose to build these with “holsters” where the tool slides in upside down by its battery base. This keeps the work surface of the cart clear for assembly while keeping the tools safe and accessible. Adding a power strip to the side of the cart means you can charge your batteries right where the tools live, ensuring you never run out of juice mid project.
The Flip Top Workbench
Another brilliant mobile solution is the flip top stand. If you have two different benchtop tools but only enough room for one stand, a flip top allows you to mount a tool on each side of a rotating platform. You can have your thickness planer on one side and your sander on the other. When you need to switch, you simply pull a locking pin, flip the top over, and you are ready to go. It is a massive space saver that makes a small workshop feel twice as big.
Small Part Organization and Cabinetry
While the big tools get all the attention, it is the small parts that usually cause the most clutter. Screws, nails, washers, and drill bits have a way of migrating across every flat surface if they do not have a home. The image highlights several ways to tackle this, including multi drawer cabinets and clear bin systems. Having a dedicated spot for every size of fastener might seem obsessive, but it saves hours of time over the course of a year.
The Advantage of Clear Storage Bins
Visual cues are incredibly helpful in a busy shop. Using clear plastic bins or drawers allows you to see exactly what is inside without having to open ten different containers. Labeling these bins is even better. When you can see that you are running low on two inch wood screws at a glance, you can add them to your shopping list before you start a project, avoiding those frustrating mid build trips to the hardware store.
Custom Drawer Inserts
Standard drawers often become “junk drawers” where tools are piled on top of each other. Customizing your drawers with foam inserts or wooden dividers ensures that every tool has a specific “nest.” This not only looks professional but also protects your tools. When chisels or drill bits are bumping into each other, they get dull faster. A custom drawer insert keeps those sharp edges protected and makes it obvious if a tool is missing at the end of the day.
Ergonomics and Comfort in the Workshop
Organization is not just about where things go; it is also about how you feel while you are working. One of the unique ideas in the image shows a rolling seat with integrated tool storage. This is a game changer for tasks that require you to be at a lower height, such as working on a vehicle or finishing the base of a cabinet. By combining seating with storage, you reduce the amount of standing and kneeling you have to do, which keeps you from getting fatigued.
Lighting and Accessibility
Good storage should also account for visibility. A dark cabinet is a place where tools go to be forgotten. When building your storage racks, consider adding LED strip lighting to the underside of shelves. This illuminates your tools and makes the whole space feel more inviting. Additionally, make sure that your most heavy tools are stored at waist height. Reaching high for a heavy router or bending low for a heavy bucket of nails can lead to back strain over time. Professional organization is as much about safety and health as it is about aesthetics.
Integrating Power and Charging Stations
In the modern DIY era, we are more reliant on cordless tools than ever before. This creates a new organizational challenge: managing chargers and batteries. A dedicated charging station is a must have for any organized shop. By creating a central hub for all your chargers, you eliminate the mess of cords across your workbench. Many of the clever designs featured in the image include built in shelving specifically sized for battery chargers, often with holes drilled in the back for cord management.
Safety First with Electrics
When you are building these charging stations, it is important to ensure there is plenty of ventilation. Batteries can get warm while charging, and tucking them into a tight, enclosed wooden box can be a fire hazard. Open shelving or cabinets with mesh fronts are great ways to keep things tidy while allowing for proper airflow. It is also a good idea to plug your entire charging station into a single power strip with a master switch, so you can easily turn everything off when you leave the shop for the day.
Conclusion: Start Your Transformation Today
The journey to an organized workshop does not have to happen overnight. In fact, some of the best shops are organized one small project at a time. You might start by simply hanging a single sheet of pegboard this weekend. Next month, you might build a rolling cart for your table saw. The key is to look at your current frustrations and build solutions that address them directly. The ideas shown in the image are meant to spark your imagination and show you what is possible when you apply your building skills to your own environment.
An organized workshop is a testament to your craft. It shows that you value your tools and your time. Beyond the practical benefits, there is a deep sense of pride that comes from working in a space that you built and organized yourself. It transforms the “work” of a workshop into pure joy. So, take another look at those twenty clever ideas, pick the one that speaks to your biggest current headache, and get started. Your future self, and your next project, will thank you for it.