Welcome to the ultimate guide on one of the most satisfying, glittery, and surprisingly scientific DIY projects you can do at home. If you have ever held a bouncy ball in your hand and wondered exactly how that little sphere of rubbery goodness works, you are in the right place. Today, we are diving deep into the world of polymer science, but with a fun, sparkly twist. We are moving beyond the store-bought bins and learning how to craft custom bouncy balls that are packed with personality and impressive bounce height.
The Magic of Homemade Bouncy Balls
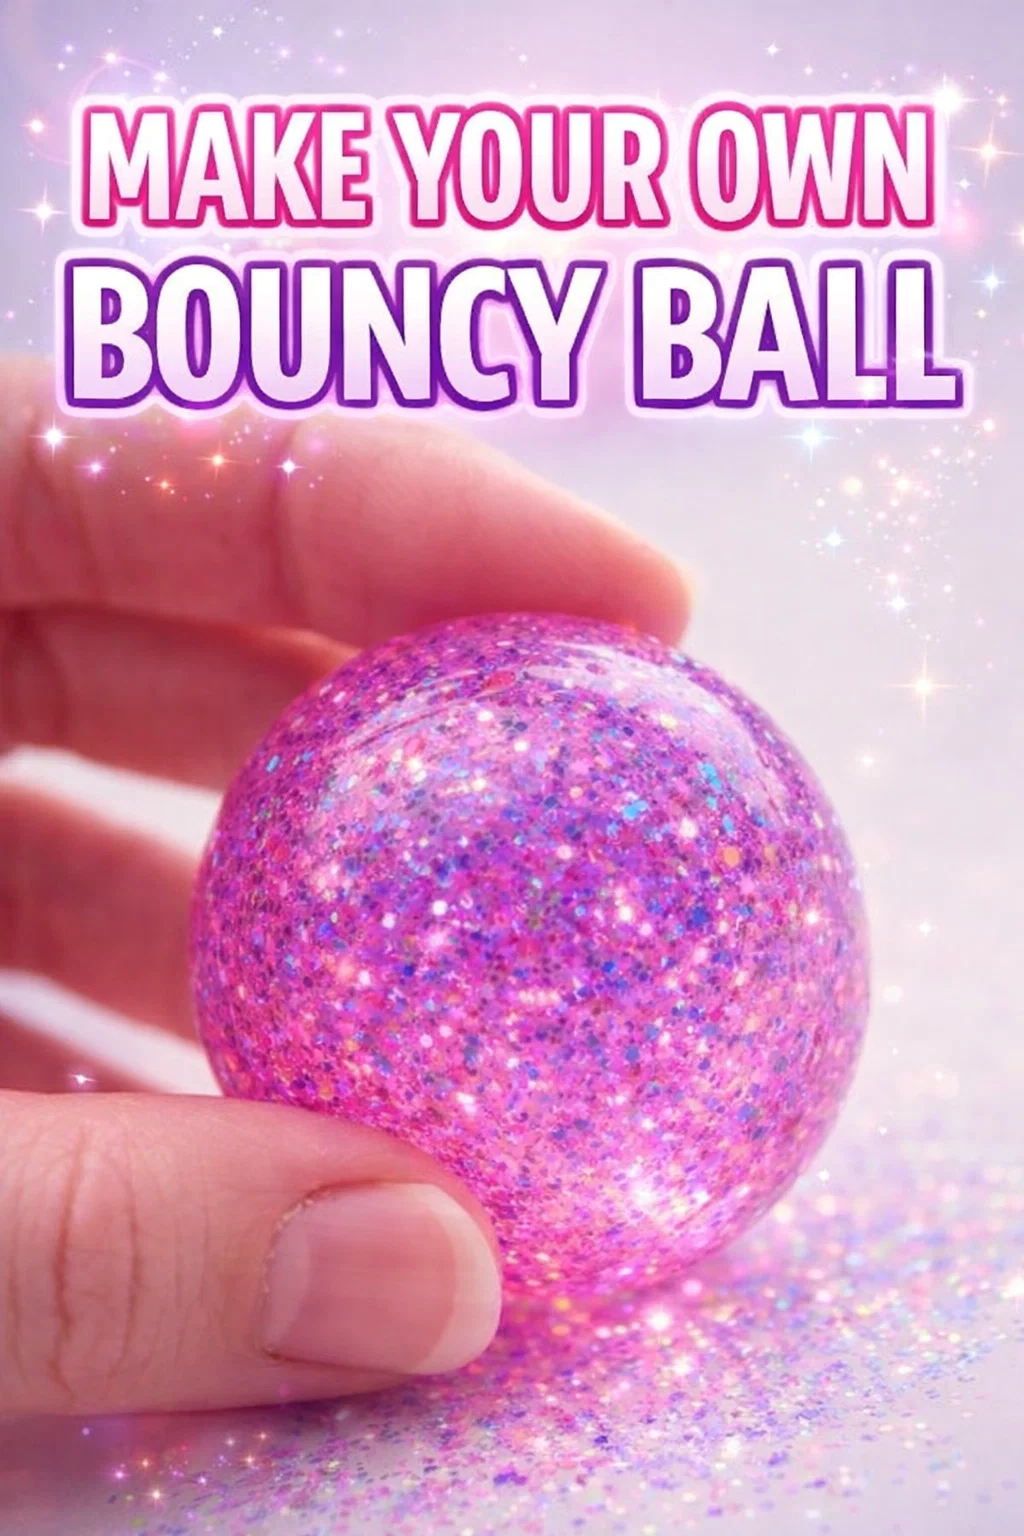
There is something inherently nostalgic about a bouncy ball. They are the staple of arcade prize counters and birthday party gift bags. But when you make one yourself, it becomes more than just a toy; it is a miniature science experiment you can hold in the palm of your hand. The image of that vibrant, blue glittery ball shows exactly what is possible with just a few simple ingredients. By combining a bit of chemistry with a dash of creativity, you can create a toy that is uniquely yours.
The beauty of this project lies in its simplicity. You do not need a laboratory or expensive equipment to get started. Most of the items required are likely sitting in your kitchen or craft cupboard right now. This makes it an ideal activity for parents looking to entertain kids on a rainy afternoon, teachers wanting to demonstrate chemical reactions, or even adults who just want a bit of tactile, sparkly stress relief.
The Science Behind the Bounce
Before we roll up our sleeves and get our hands messy, let us talk about the “why” behind the “how.” Making a bouncy ball is a classic lesson in polymer chemistry. A polymer is a large molecule made up of repeating chains of smaller units. In this project, we typically use white or clear school glue, which contains a polymer called polyvinyl acetate (PVA). On its own, PVA is runny and liquid.
When we introduce a cross-linking agent, such as borax or a specialized contact lens solution, a chemical reaction occurs. The borax molecules act like tiny bridges that connect the long chains of PVA together. This process, known as cross-linking, transforms the liquid glue into a flexible, rubbery solid. The more links you create, the firmer the ball becomes. It is this elastic structure that allows the ball to deform when it hits the floor and then quickly snap back to its original shape, propelling it upward in a satisfying bounce.
Why Glitters and Colors Matter
While the chemistry provides the structure, the aesthetics provide the soul of the project. Using clear glue instead of white glue allows light to pass through the sphere, making it look like a precious gemstone or a cosmic nebula. Adding fine-grain glitter, like the deep blue seen in our reference image, creates a sense of depth. As the ball rotates and bounces, the light catches different facets of the glitter, making the toy look dynamic and high-end.
Materials You Will Need
To achieve that professional, crystal-clear look, you will want to gather specific supplies. While there are variations of this recipe, the following list is the gold standard for a durable, high-energy bouncy ball:
- Clear School Glue: This is the base of your ball. Clear glue ensures the glitter is visible throughout the sphere.
- Borax Powder: This acts as your primary cross-linking agent.
- Cornstarch: This is the secret ingredient that helps bind the polymers and provides a bit of structural integrity so the ball holds its shape over time.
- Warm Water: To dissolve the borax and create a consistent solution.
- Fine Glitter: Choose a bold color like cobalt blue, emerald green, or holographic silver.
- Mixing Bowls and Spoons: Small plastic cups work best for easy cleanup.
Step-by-Step Guide to Crafting the Perfect Sphere
Now, let us walk through the process of bringing your bouncy ball to life. Precision is key here, as the ratio of glue to borax determines how “bouncy” or “squishy” your final result will be.
Step 1: The Borax Solution
In your first container, mix about a half-cup of warm water with one tablespoon of borax. Stir it vigorously until the powder is mostly dissolved. This creates the catalyst that will turn your liquid glue into a solid. The water should be warm to the touch but not boiling.
Step 2: The Glue Base
In a separate cup, pour in two tablespoons of clear school glue. This is where you add your personality. Shake in a generous amount of glitter. Do not be shy; the glitter will be suspended inside the ball, so you want enough of it to create that dense, shimmering effect seen in the photo. Stir the glitter into the glue until it is evenly distributed.
Step 3: Combining the Elements
Add one tablespoon of cornstarch to the glue and glitter mixture. Do not stir it yet. Instead, pour the borax solution over the glue and cornstarch. Let it sit for about 30 seconds. This allows the chemical reaction to begin at the edges of the glue pile. After the short wait, start stirring. You will notice the mixture quickly turning into a stiff, globby mess. This is exactly what you want.
Step 4: The Kneading Process
Once the mixture becomes too thick to stir, lift it out of the liquid. It will be sticky and perhaps a bit slimy at first. Begin kneading it between your palms. As you work the material, the excess water will squeeze out, and the polymers will tighten. Within a minute or two, the stickiness will vanish, and you will be left with a rubbery mass.
Step 5: Shaping the Ball
This is the most important part for aesthetics. Roll the mass between your palms using a circular motion, just like you are making a ball of clay. Apply even pressure. If the ball feels a bit lumpy, keep rolling. The heat from your hands helps smooth out the surface, giving it that polished, glass-like finish.
Troubleshooting Common Issues
Sometimes, your first attempt might not come out perfectly. Chemistry can be finicky! Here are a few ways to fix common problems:
My ball is too sticky
If the ball stays sticky even after a few minutes of kneading, it likely needs more cross-linking. Dip it back into the borax solution for 10 seconds and then continue kneading. This will help finalize the reaction on the surface.
My ball is brittle and breaking
If the ball crumbles when you bounce it, you might have used too much borax or cornstarch. This makes the polymer chains too rigid. Next time, try slightly increasing the glue-to-borax ratio to keep the structure more flexible.
The ball flattened overnight
Homemade bouncy balls are “non-Newtonian” in a sense; if left on a flat surface for a long time, they may lose their perfectly round shape due to gravity. To prevent this, store your ball in a small, round container or a plastic egg, or simply give it a quick roll in your hands before you start playing with it again.
Fun Variations to Try
Once you have mastered the basic blue glitter ball, the sky is the limit. You can experiment with different additives to create a whole collection of “tiny stuff” that dazzles the eye.
Glow in the Dark: Add a drop of glow-in-the-dark paint or phosphorus powder to the glue mixture before cross-linking. These are perfect for nighttime games or as “alien eggs” for a themed party.
Layered Colors: Make two small batches of different colored glue (e.g., pink and blue). Before they fully harden, twist them together to create a marbled, galaxy effect.
Scented Balls: Add a single drop of essential oil to the glue. While it won’t affect the bounce, it adds a sensory layer to the experience, making the balls great fidget toys.
The Educational Value for Kids
If you are doing this project with children, use it as a teaching moment. You can discuss states of matter (going from liquid to solid), chemical reactions, and even physics. Ask them to predict how high the ball will bounce based on its size or how much cornstarch was used. It turns a simple craft into a hands-on laboratory where curiosity is the main ingredient.
Moreover, it encourages fine motor skills. The process of measuring, stirring, and especially the precise rolling required to make the ball perfectly spherical is great exercise for small hands. It also teaches patience, as they learn that the “slimy” phase is just a necessary step toward the “bouncy” phase.
Safety First
While this project is generally safe, there are a few things to keep in mind. Borax is a cleaning agent and should not be ingested. Always supervise younger children to ensure they do not put the ingredients or the finished ball in their mouths. It is also a good idea to wash your hands thoroughly after the kneading process is complete. If you have sensitive skin, wearing thin gloves during the initial mixing phase can prevent any mild irritation from the borax solution.
Conclusion: Crafting Joy in Small Packages
Creating your own bouncy ball is a reminder that you do not need much to spark joy and wonder. From a simple bottle of glue and some glitter, you can create a toy that provides hours of entertainment and a lifetime of scientific curiosity. The stunning blue ball we analyzed today is just the beginning. Whether you are making them for yourself, as gifts, or as a classroom project, the process is rewarding from the first stir to the first bounce.
So, clear off your table, grab your glitter, and start experimenting. There is a whole world of “tiny stuff” out there waiting to be created, one sparkly sphere at a time. Once you see that first high bounce, you will be hooked on the magic of DIY chemistry. Happy crafting!